You know those desserts that disappear before you even set them down? That’s my apple slab pie—every single time. I discovered this recipe years ago when I needed to feed a crowd at my niece’s baby shower, and now it’s my secret weapon for potlucks, holidays, and “oops, I invited too many people” moments. The magic? It’s simpler than a classic pie (no fancy crimping!), but the buttery crust and spiced apples taste like you spent all day. My trick? A splash of lemon juice keeps the apples bright, and a little extra cinnamon makes the whole house smell like a hug. Trust me, once you see how fast this comes together, you’ll be as obsessed as I am.
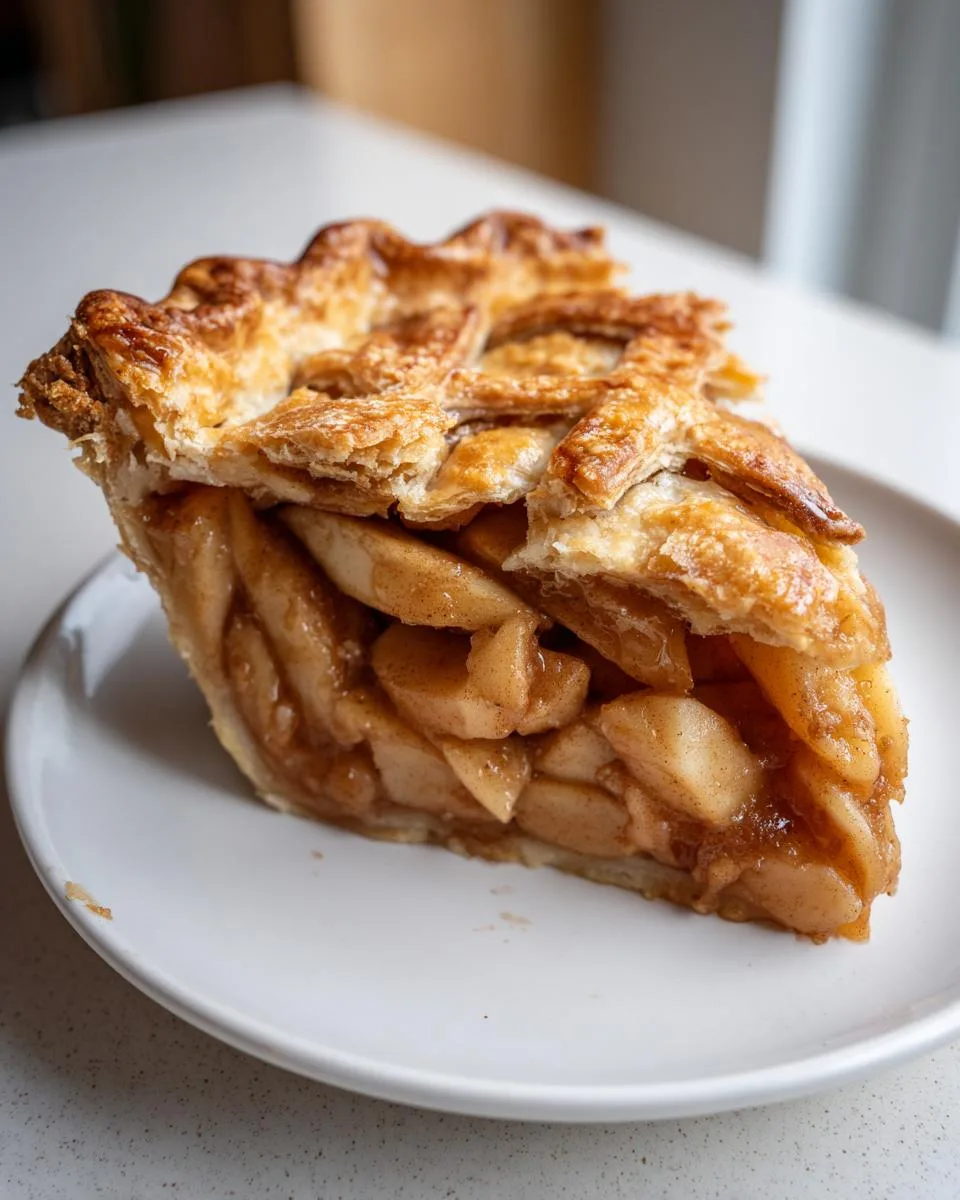
Ingredients for Apple Slab Pie
Grab these simple ingredients – you probably have most in your pantry already! The star is 6 cups thinly sliced apples (about 4-5 medium Granny Smiths – their tartness balances the sweetness perfectly). You’ll also need:
- 1 cup granulated sugar (don’t skimp – it helps create that syrupy goodness)
- 2 tbsp lemon juice (my secret for keeping apples from turning brown)
- 1 tsp cinnamon + ¼ tsp each nutmeg and salt (that warm spice blend we all love)
- 2 tbsp cold butter (cut into tiny pieces – these melt into little pockets of richness)
- 2 sheets refrigerated pie crust (I won’t judge – they’re lifesavers when you’re in a hurry!)
See? Nothing fancy – just honest ingredients that turn into something magical together.
How to Make Apple Slab Pie
Okay, let’s get baking! This comes together faster than you’d think – I promise you’ll be amazed at how easy it is.
Preparing the Filling
First, toss those beautiful apple slices with sugar, lemon juice (this keeps them from looking sad and brown), cinnamon, nutmeg, and salt in a big bowl. Don’t be shy – really get in there with your hands! You want every slice coated in that sweet, spicy goodness. Let it sit for 5 minutes while you prep the crust – you’ll see the apples start releasing their juices (that’s perfect!).
Assembling the Pie
Roll out your first pie crust on a floured surface until it fits your baking sheet (about 15×10 inches). Carefully transfer it – I like to loosely roll it around my rolling pin to move it without tearing. Dump in your apple mixture, spreading it evenly (leave about an inch border!). Dot with those tiny butter pieces – they’ll melt into little pools of deliciousness. Now roll out the second crust, place it over the top, and crimp the edges with a fork to seal. Cut 4-5 slits in the top (this lets steam escape so you don’t get a soggy pie!).
Baking and Cooling
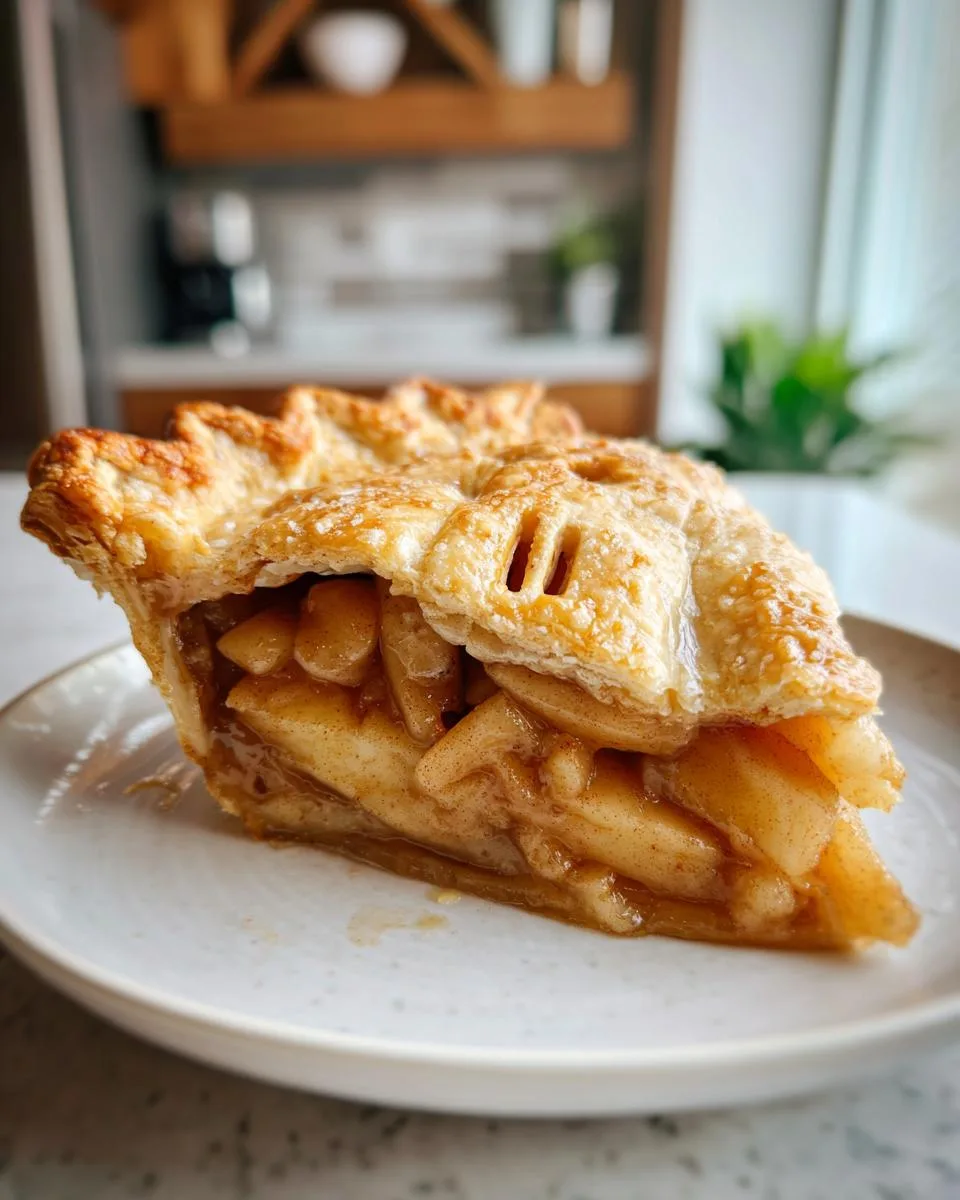
Pop it in your preheated 375°F oven and bake for 40-45 minutes. You’ll know it’s done when the crust turns golden brown and you see those bubbly juices peeking through the slits. Here’s my golden rule: let it cool for at least 20 minutes before slicing. I know it’s hard to wait, but this gives the juices time to thicken so you get perfect slices instead of apple soup! For more baking tips, check out this apple coffee cake recipe.
Why You’ll Love This Apple Slab Pie
This apple slab pie is a total game-changer, and here’s why:
- Feeds a crowd: One pan = 12 generous slices (perfect for parties or family dinners!).
- Easy to customize: Swap spices, add nuts, or drizzle caramel for your own twist.
- Perfect balance: Sweet apples meet a hint of tartness from the lemon juice—total harmony.
- No-fuss crust: Pre-made pie crusts make this a breeze, but it still tastes homemade.
Trust me, this pie will become your new go-to dessert!
Tips for the Best Apple Slab Pie
Want pro-level results? Here are my hard-earned secrets after making this pie dozens of times:
- Chill the crust: Pop the assembled pie in the fridge for 10 minutes before baking – it helps prevent shrinking.
- Slice like a boss: Use a ruler and sharp knife for picture-perfect squares (warm the blade under hot water for cleaner cuts).
- Watch the color: If the crust browns too fast, tent loosely with foil – nobody likes burnt edges!
- Thin is in: Slice apples about 1/4-inch thick so they cook evenly without turning mushy.
Little tricks make all the difference between good and “can I get your recipe?” amazing!
Apple Slab Pie Variations
Want to mix things up? Swap apples for pears or add a handful of fresh cranberries for a tart twist. Drizzle warm caramel over the top for extra decadence, or sprinkle chopped pecans into the filling for crunch. Feeling adventurous? Try cardamom or ginger instead of cinnamon for a spiced upgrade. The possibilities are endless!
Serving and Storing Apple Slab Pie
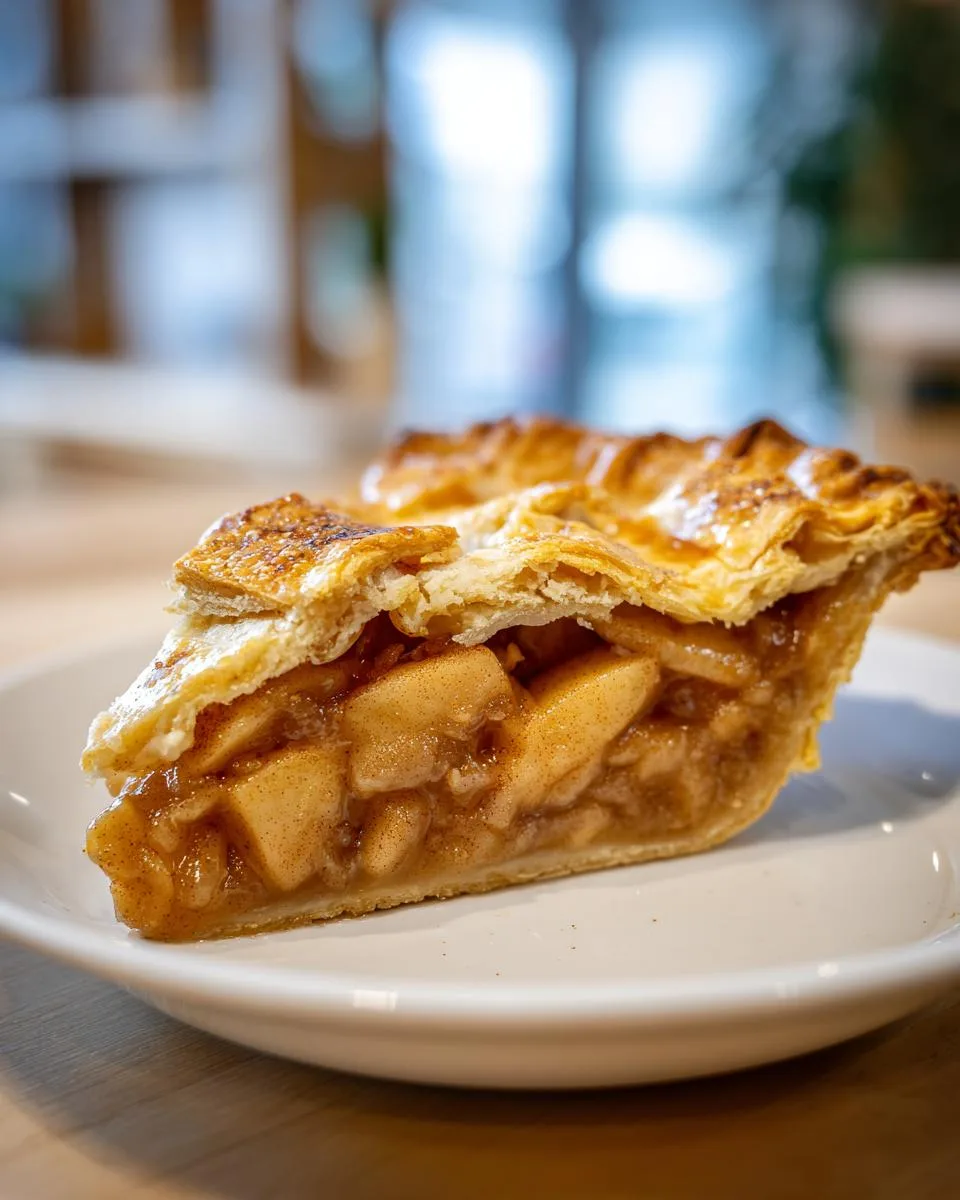
Oh my gosh, serving this pie warm is LIFE-CHANGING! I always plop a scoop of vanilla ice cream on top – the way it melts into those cinnamon-spiced apples? Pure heaven. Whipped cream works too if you’re feeling fancy. Leftovers (ha! As if!) keep covered in the fridge for 3 days – just reheat slices at 300°F for 10 minutes to bring back that fresh-from-the-oven magic.
Apple Slab Pie Nutrition
Now, I’m no nutritionist, but here’s the scoop – this apple slab pie is dessert, so let’s be real, it’s a treat! Each generous slice has about 250 calories (worth every bite if you ask me). The sugar comes mostly from the apples themselves and that little bit we add to make the magic happen. I always say life’s too short not to enjoy homemade pie, especially when you can taste the love in every spiced apple bite. Remember, nutrition values are just estimates – they’ll vary depending on your exact ingredients and how big you slice those pieces (no judgement if you sneak an extra-large serving!). For more information on apple nutrition, you can check out this resource on apples.
Common Questions About Apple Slab Pie
I get asked about this pie all the time – here are the answers to the questions that pop up most often in my kitchen:
- Can I freeze it? Absolutely! Bake it first, let it cool completely, then wrap tightly in plastic and foil. It keeps beautifully for up to 3 months. Thaw overnight in the fridge and reheat at 300°F until warm.
- Best apple substitutes? Granny Smith’s my go-to, but Honeycrisp or Braeburn work great too – just avoid super soft varieties like Red Delicious (they turn to mush!).
- Can I make it ahead? You bet! Assemble the whole pie the night before, keep it refrigerated, then bake it fresh in the morning – the crust stays flaky and the apples stay bright.
See? No mystery here – just simple solutions for real-life baking!
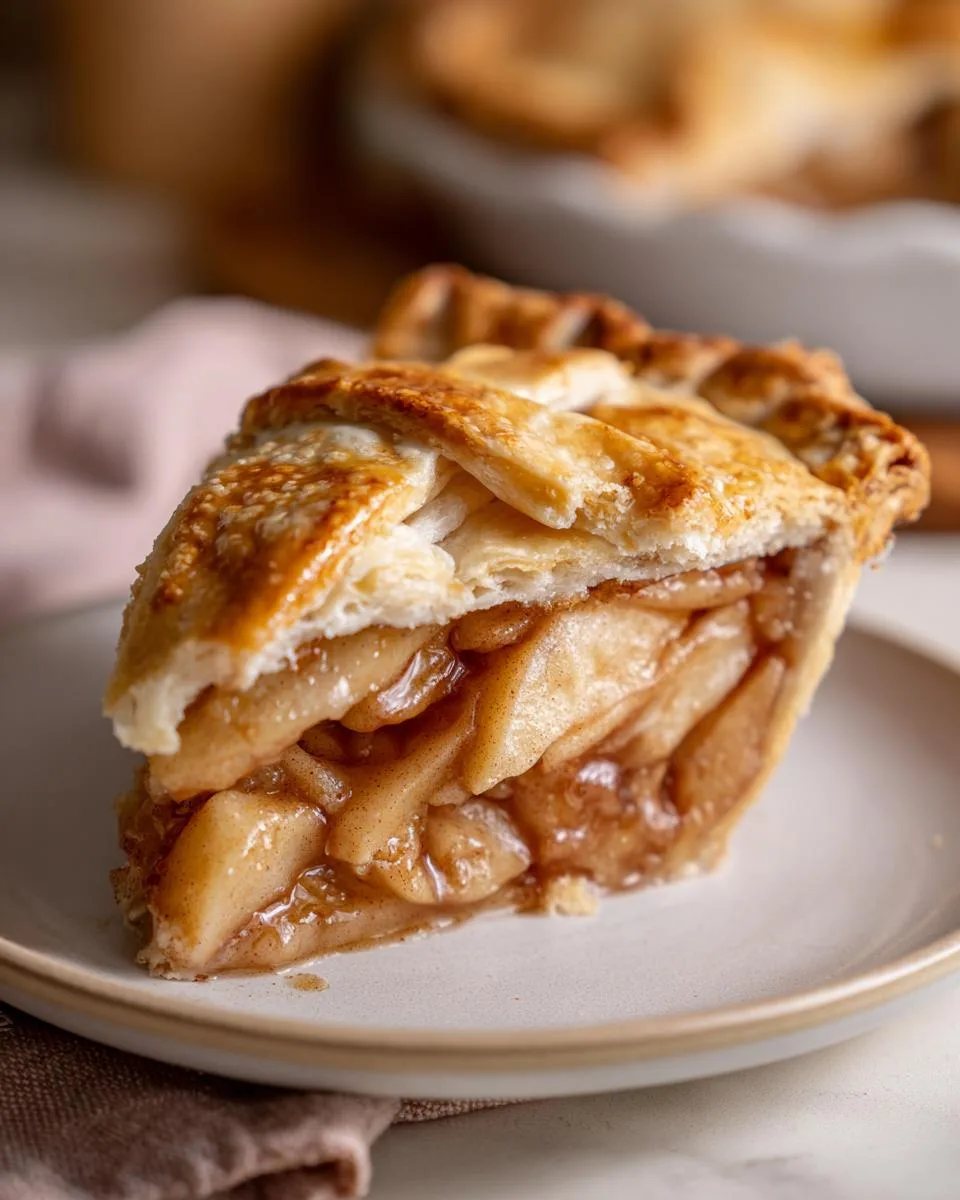
Irresistible Apple Slab Pie Recipe with 6 Cups of Spiced Apples
A delicious and easy-to-make apple slab pie that serves a crowd. Perfect for gatherings and holidays.
- Prep Time: 20 minutes
- Cook Time: 45 minutes
- Total Time: 1 hour 5 minutes
- Yield: 12 servings 1x
- Category: Dessert
- Method: Baking
- Cuisine: American
- Diet: Vegetarian
Ingredients
- 6 cups thinly sliced apples
- 1 cup sugar
- 2 tbsp lemon juice
- 1 tsp cinnamon
- 1/4 tsp nutmeg
- 1/4 tsp salt
- 2 tbsp butter
- 2 sheets refrigerated pie crust
Instructions
- Preheat oven to 375°F (190°C).
- Roll out pie crust to fit a 15×10-inch baking sheet.
- In a bowl, mix apples, sugar, lemon juice, cinnamon, nutmeg, and salt.
- Spread apple mixture over the pie crust.
- Dot with butter.
- Cover with the second pie crust, sealing edges.
- Cut slits in the top crust for ventilation.
- Bake for 40-45 minutes or until golden brown.
- Cool before serving.
Notes
- Use firm apples like Granny Smith for best results.
- Serve warm with vanilla ice cream.
- Store leftovers in the fridge for up to 3 days.
Nutrition
- Serving Size: 1 slice
- Calories: 250
- Sugar: 20g
- Sodium: 150mg
- Fat: 10g
- Saturated Fat: 4g
- Unsaturated Fat: 5g
- Trans Fat: 0g
- Carbohydrates: 40g
- Fiber: 3g
- Protein: 2g
- Cholesterol: 10mg

