There’s something about a warm apple crisp that feels like a hug from the inside out, isn’t there? I grew up with my grandma’s version—always bubbling away in her old ceramic dish, the scent of cinnamon and brown sugar filling the whole house. She’d let me sneak bites of the oat topping before it even hit the oven, and let me tell you, that crispy, buttery crumble was (and still is) my weakness.
This classic apple crisp with oat topping is the kind of dessert that never goes out of style. It’s simple enough for a weeknight but special enough to impress guests. No fancy techniques here—just juicy apples, warm spices, and that irresistible crunchy topping we all love. What makes mine extra special? A little trick I picked up from Grandma: letting the baked crisp rest for 10 minutes before serving. It gives the juices time to thicken just enough so you get perfect, gooey bites without a soupy mess.
Whether you’re craving nostalgia or just a foolproof dessert that always hits the spot, this recipe is your new best friend. And don’t even get me started on how amazing your kitchen will smell…

Why You’ll Love This Classic Apple Crisp with Oat Topping
Trust me, once you try this recipe, you’ll understand why it’s been a family favorite for generations. Here’s what makes it so special:
- Effortless baking: No fancy skills needed—just slice, mix, and bake. Even if you’re new to desserts, this crisp turns out perfect every time.
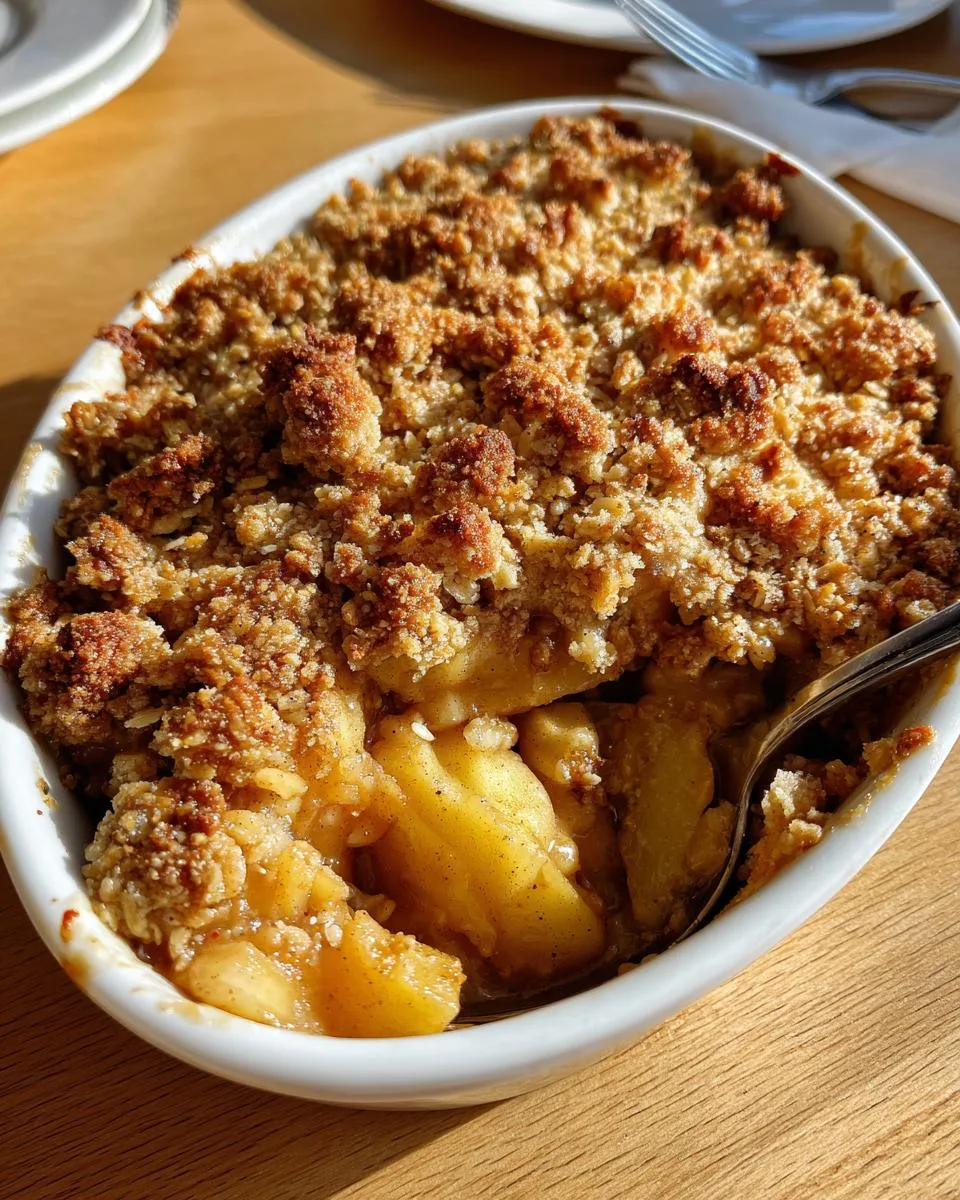
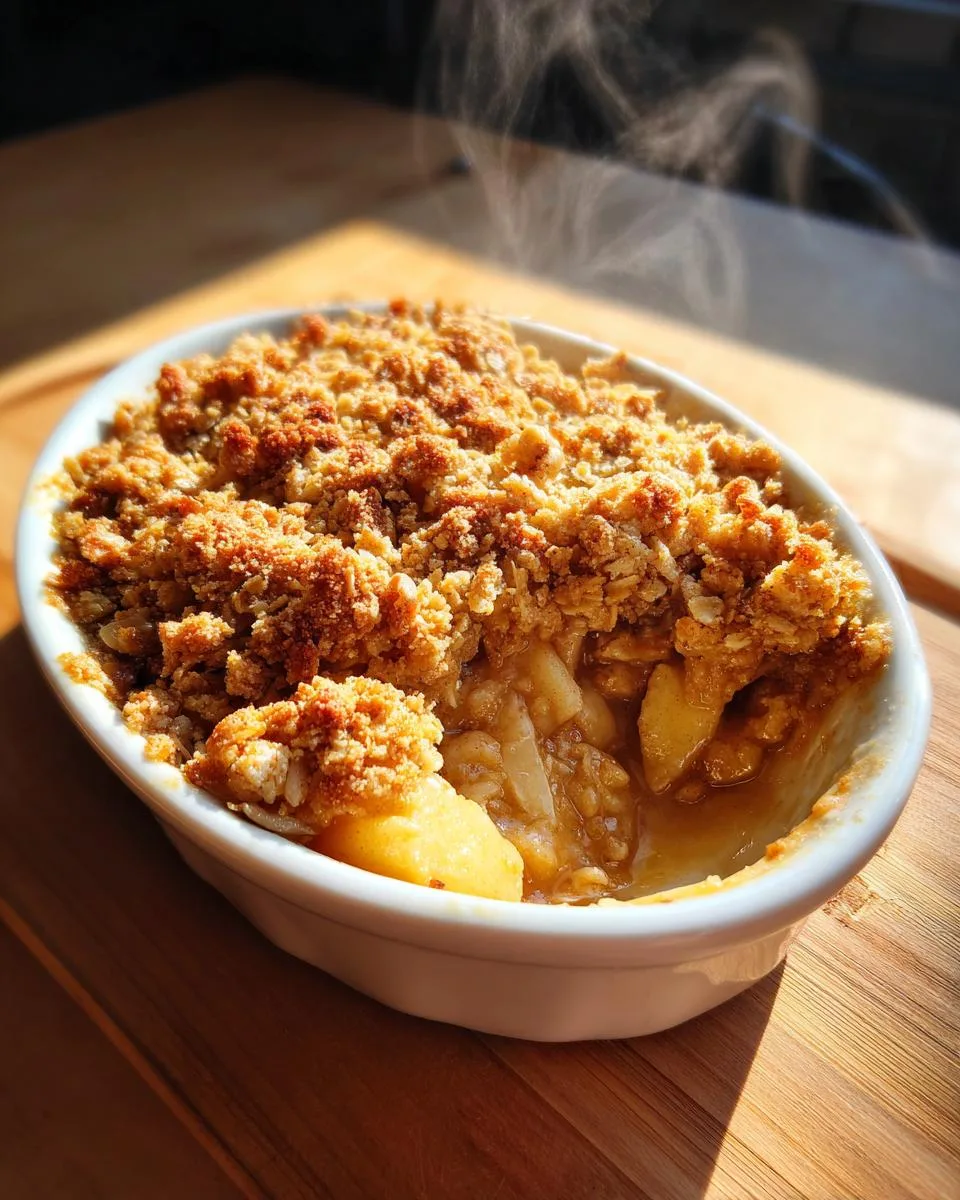
- Magic texture: That golden oat topping? Crispy on top, tender underneath, with juicy apples bubbling beneath. It’s the ideal balance of soft and crunchy.
- Nostalgia in every bite: Warm cinnamon, buttery brown sugar, and tart apples—it tastes like childhood memories (or the childhood you wish you’d had).
- Adaptable: Swap fruits, adjust sweetness, or add nuts. It’s forgiving and flexible, just like Grandma’s cooking should be.
Plus, it’s the kind of dessert that makes people hover around the oven, stealing spoonfuls straight from the dish. Not that I’d know anything about that…

Ingredients for Classic Apple Crisp with Oat Topping
Gathering ingredients for apple crisp is half the fun—you probably have most of these in your pantry right now! Here’s what you’ll need for that perfect balance of tender apples and crispy oat topping:
- Apples: 6 cups peeled and sliced (about 4 medium apples—my secret is mixing Granny Smith and Honeycrisp)
- Sweet spices: 1/2 cup granulated sugar + 1 tsp ground cinnamon + 1/4 tsp nutmeg (freshly grated if you’re feeling fancy)
- Oat topping: 1 cup old-fashioned rolled oats (not quick oats—they get mushy) + 1/2 cup all-purpose flour
- Brown sugar magic: 1/2 cup packed dark brown sugar (that molasses flavor makes all the difference)
- Leavening: 1/4 tsp each baking powder and baking soda (just enough lift without puffing up)
- The good stuff: 1/2 cup melted unsalted butter (I use European-style for extra richness)
See? Nothing weird or complicated—just honest ingredients that work together like old friends.
Ingredient Notes & Substitutions
Baking should be fun, not stressful! Here’s how to adapt based on what you’ve got:
- Apples: Prefer sweeter? Use all Honeycrisp. Want tang? Go full Granny Smith. No peeling? Just scrub well—the skins add nice texture.
- Sweeteners: Swap white sugar for coconut sugar. For brown sugar, dark gives deeper flavor but light works in a pinch.
- Flour: Gluten-free 1:1 blend works perfectly here. Almond flour makes it grain-free but clumpier.
- Butter: Vegan butter or coconut oil (refined for neutral taste) keeps it dairy-free. Margarine works but lacks that rich flavor.
My only non-negotiable? Those old-fashioned oats—they give that signature crispiness you just can’t fake!
How to Make Classic Apple Crisp with Oat Topping
Alright, let’s get to the good part—making that dreamy apple crisp! Don’t let the simplicity fool you; a few key tricks make all the difference between good and “oh-my-goodness-I-need-another-bite” great. Here’s exactly how I do it:
- Preheat with purpose: Crank that oven to 375°F (190°C) before you start. A properly hot oven gives you that golden, crispy topping we’re after. (Pro tip: Put your baking dish in the oven as it heats—warm dishes prevent sticky disasters!)
- Apple alchemy: Toss your sliced apples with granulated sugar, cinnamon, and nutmeg right in the baking dish. No extra bowl to wash! Let them sit while you make the topping—the sugar will start drawing out juices for maximum flavor.
- Topping therapy: In a big bowl, mix oats, flour, brown sugar, baking powder, and baking soda. Now pour in the melted butter and stir until it looks like wet sand. No need to overmix—those little clumps will crisp up beautifully.
- Layer with love: Sprinkle the oat mixture over the apples like you’re making the coziest blanket. Press gently in spots to create texture—some thick clumps, some thin crispy bits.
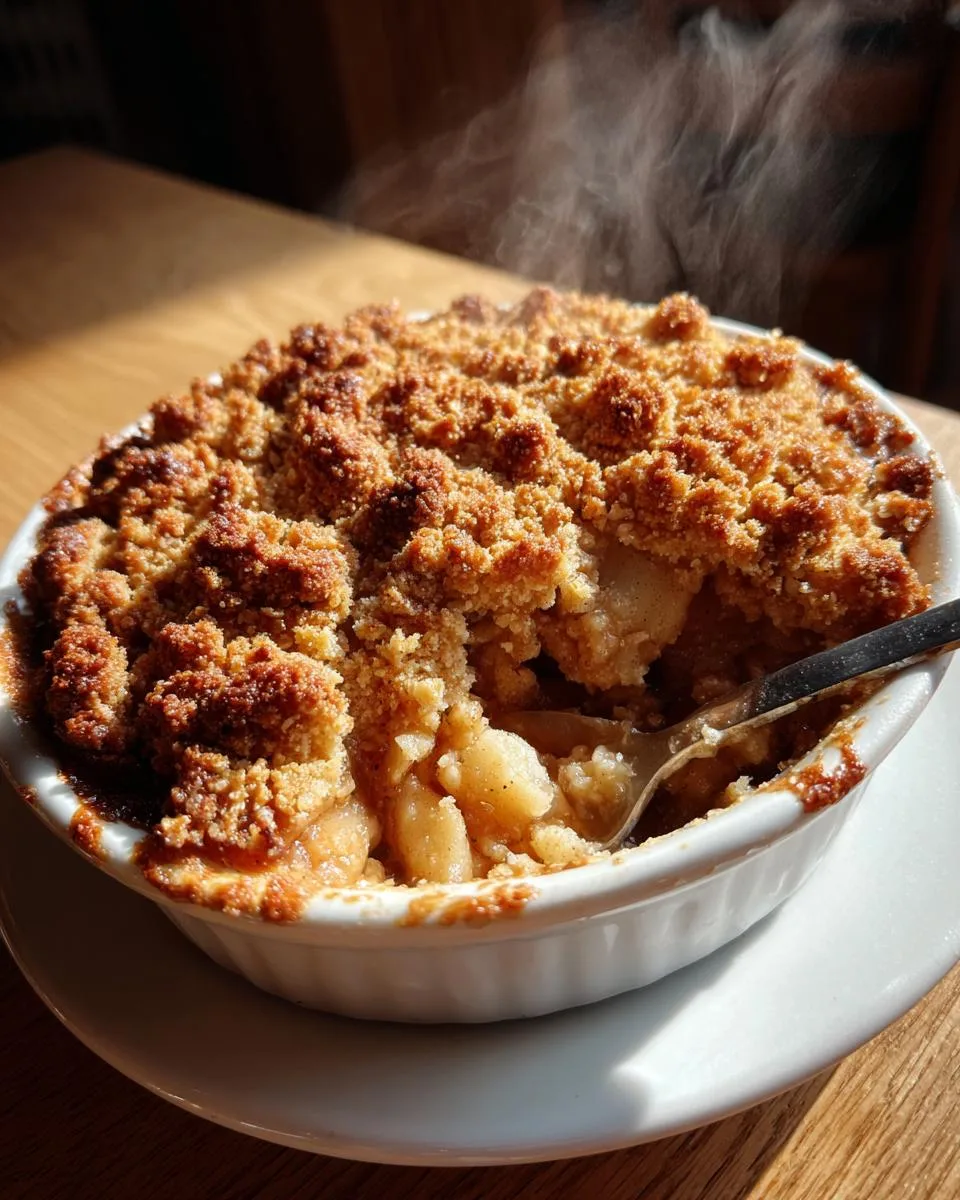
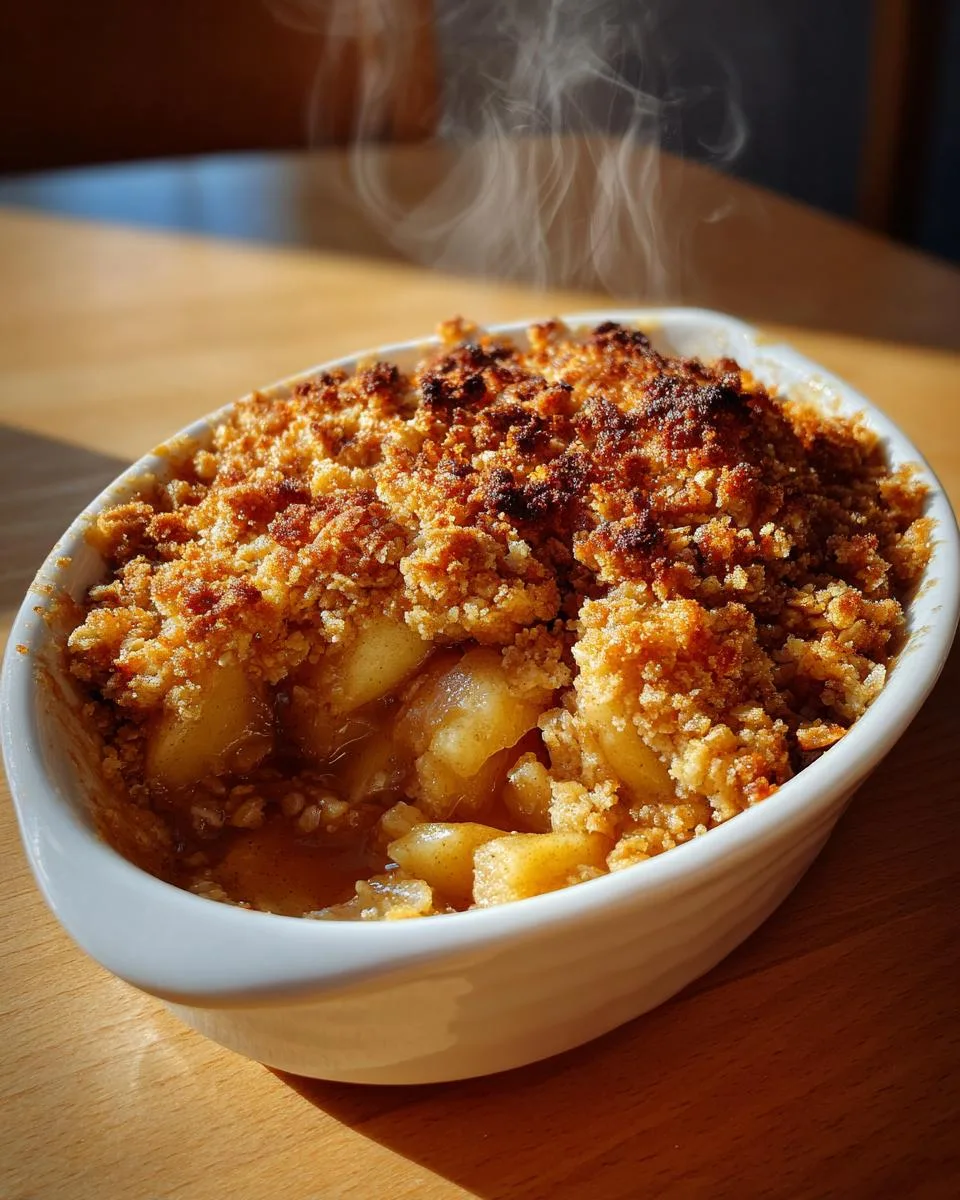
- Bake to perfection: Pop it in the oven for 30-35 minutes. You’ll know it’s ready when the topping is deep golden (almost caramel-colored) and the apples bubble at the edges like tiny volcanoes of deliciousness.
- The waiting game: Let it rest 10 minutes before serving. I know it’s hard, but this lets the juices thicken into syrup instead of running everywhere. Worth it!

Tips for the Perfect Crisp
After making this more times than I can count, here are my golden rules:
- Avoid soggy topping syndrome: If your apples are extra juicy, toss them with 1 tbsp flour before adding sugar. It thickens the juices without changing flavor.
- Test apple tenderness: Slide a knife into the center—it should meet just a little resistance. They’ll soften more as it cools.
- Resting is non-negotiable: That 10-minute wait lets molten sugar settle so you don’t burn your tongue (speaking from experience).
Now go grab a scoop of vanilla ice cream—you’ve earned it!
Serving Suggestions for Classic Apple Crisp
Oh, the possibilities! While this apple crisp is downright heavenly all on its own, I won’t judge if you want to take it over the top. Here’s how we serve it in my house:
- Vanilla ice cream: The classic pairing—that warm-cold contrast is everything. The melted ice cream mixing with the crispy topping? Pure bliss.
- Fresh whipped cream: For when you want something lighter but still indulgent. I add a pinch of cinnamon to mine.
- Caramel drizzle: Because sometimes you just need that extra gooey sweetness. A little flaky sea salt on top makes it next-level.
Morning-after breakfast version? Just call it “fruit and granola” and eat it straight from the fridge—I won’t tell!
Storing and Reheating Classic Apple Crisp
Here’s the good news—this apple crisp tastes almost as amazing the next day (if it lasts that long)! Let it cool completely before covering with foil or transferring to an airtight container. It keeps beautifully in the fridge for 3-4 days. For longer storage, freeze individual portions—just pop them straight into the toaster oven at 325°F until warm and crispy again.
My favorite reheating trick? A quick broil for 2 minutes revives that freshly-baked crunch. And yes, it’s totally acceptable to eat it cold with your fingers standing in front of the fridge at midnight—not that I’d know anything about that…

Classic Apple Crisp with Oat Topping FAQs
I get asked about this recipe all the time, so here are answers to the most common questions—straight from my kitchen to yours:
- What are the best apples for crisp? My go-to is a mix of tart Granny Smith and sweet Honeycrisp. The balance keeps it from being too sugary. If you prefer softer bakes, try McIntosh—just know they’ll break down more.
- Can I make this gluten-free? Absolutely! Swap the flour for a 1:1 gluten-free blend. The oats are naturally gluten-free, but check the package to ensure they’re processed in a GF facility if that’s a concern.
- How do I double the recipe for a crowd? Easy! Use a 9×13-inch dish and keep the baking time the same (shocking, but true). The extra volume means more steam, which helps the topping crisp up just right.
- Why is my topping soggy? Three likely culprits: apples weren’t patted dry, oven wasn’t hot enough, or it didn’t bake long enough. Next time, try preheating your pan with the oven for extra crisp insurance!
- Can I prep this ahead? You bet! Assemble the crisp (unbaked) up to a day in advance—keep it covered in the fridge. Add 5 extra minutes to the bake time since it’ll start cold.
Still stumped? Slide into my DMs—I love troubleshooting baking mysteries!
Nutritional Information
While I’m all about indulgence when it comes to desserts, I know some folks like to keep an eye on nutrition. A serving of this apple crisp contains roughly 320 calories—mostly from those good-for-you apples and hearty oats! (Of course, estimates vary based on your specific ingredients and how generous you are with that ice cream scoop.) The oats pack in fiber, and apples give you vitamin C, so really… it’s practically health food. Just saying!
PrintGrandma’s Classic Apple Crisp with Oat Topping in 6 Easy Steps
A warm and comforting dessert featuring tender apples topped with a crispy oat mixture.
- Prep Time: 15 minutes
- Cook Time: 35 minutes
- Total Time: 50 minutes
- Yield: 6 servings 1x
- Category: Dessert
- Method: Baking
- Cuisine: American
- Diet: Vegetarian
Ingredients
- 6 cups peeled and sliced apples
- 1/2 cup granulated sugar
- 1 tsp ground cinnamon
- 1/4 tsp ground nutmeg
- 1 cup rolled oats
- 1/2 cup all-purpose flour
- 1/2 cup brown sugar
- 1/4 tsp baking powder
- 1/4 tsp baking soda
- 1/2 cup unsalted butter, melted
Instructions
- Preheat oven to 375°F (190°C).
- In a bowl, mix apples, granulated sugar, cinnamon, and nutmeg. Transfer to a baking dish.
- In another bowl, combine oats, flour, brown sugar, baking powder, and baking soda.
- Stir melted butter into the oat mixture until crumbly.
- Sprinkle the oat topping evenly over the apples.
- Bake for 30-35 minutes until golden brown.
- Let cool slightly before serving.
Notes
- Use tart apples like Granny Smith for best results.
- Serve warm with vanilla ice cream or whipped cream.
Nutrition
- Serving Size: 1 serving
- Calories: 320
- Sugar: 32g
- Sodium: 80mg
- Fat: 12g
- Saturated Fat: 7g
- Unsaturated Fat: 4g
- Trans Fat: 0g
- Carbohydrates: 52g
- Fiber: 4g
- Protein: 3g
- Cholesterol: 30mg


