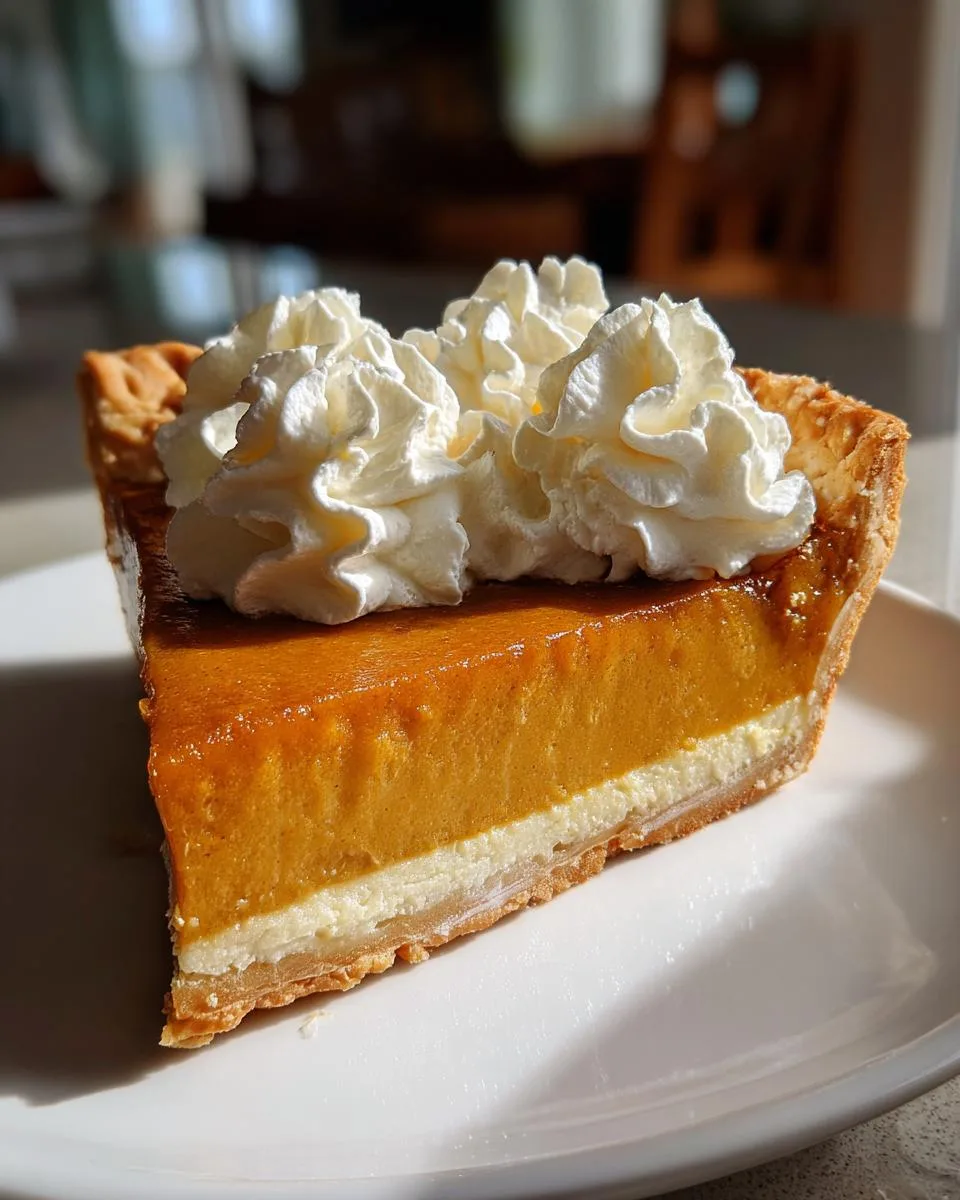
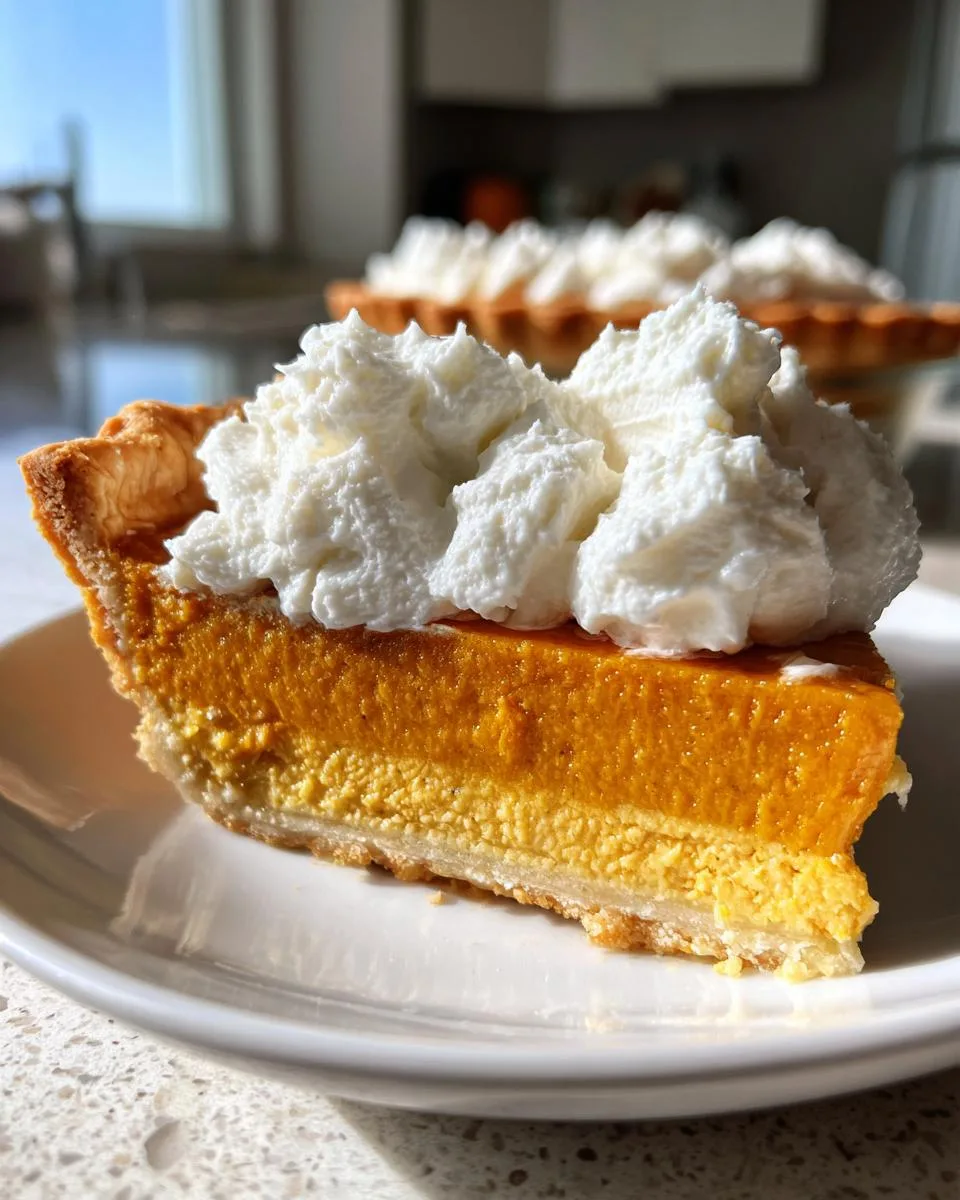
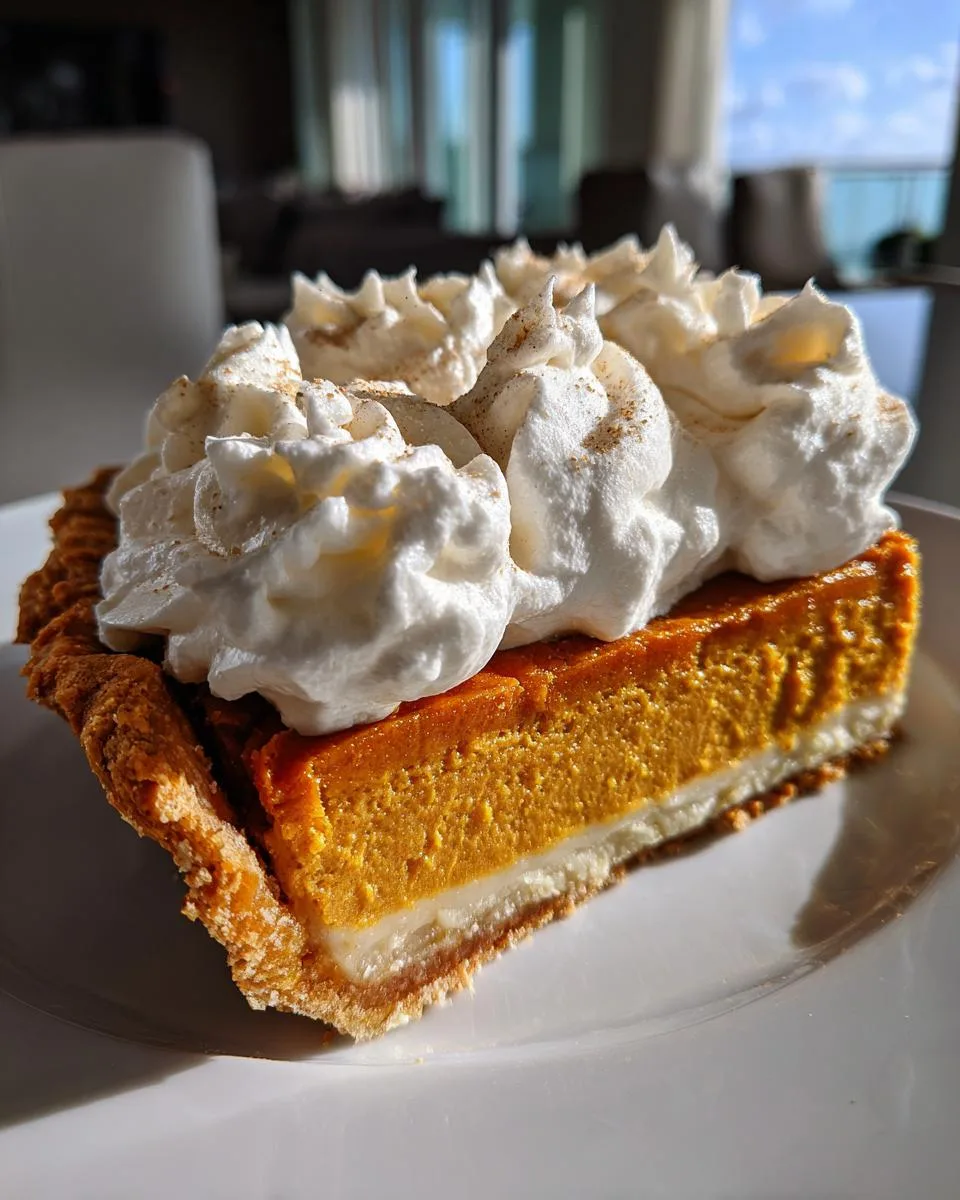
There’s nothing that screams “fall” quite like the smell of a freshly baked pumpkin pie wafting through the kitchen. But let me tell you, friends – my Pumpkin Pie with Maple Whipped Cream takes this classic dessert to a whole new level of deliciousness. I still remember the first time I brought this golden beauty to Thanksgiving dinner – my aunt took one bite of that silky maple-kissed whipped cream topping and immediately demanded the recipe!
This isn’t just any pumpkin pie. The maple whipped cream adds this incredible depth of flavor that perfectly balances the warm spices in the filling. It’s become my signature holiday dessert, the one dish my family insists I bring every year. What I love most is how simple it is to make something that tastes so special – just a few pantry staples transformed into pure autumn magic.
Whether you’re hosting friends or just craving some cozy comfort food, this Pumpkin Pie with Maple Whipped Cream will become your new fall tradition too. Trust me, once you taste that first bite of spiced pumpkin filling paired with the lightly sweet maple cream, you’ll be hooked just like my family was!

Ingredients for Pumpkin Pie with Maple Whipped Cream
Gathering your ingredients is the first step to pumpkin pie perfection! I always lay everything out before starting – it makes the whole process so much smoother. Here’s exactly what you’ll need to create this autumnal masterpiece:
For the Pumpkin Pie
First, the pie itself – the star of the show:
- 1 (9-inch) unbaked pie crust (homemade or store-bought – no judgment here!)
- 1 (15 oz) can pumpkin puree (not pie filling – we want pure pumpkin)
- 3/4 cup granulated sugar
- 1 tsp ground cinnamon (freshly ground if you’re feeling fancy)
- 1/2 tsp ground ginger (I sometimes use fresh grated for extra zing)
- 1/4 tsp ground cloves
- 1/2 tsp salt
- 2 large eggs, room temperature (this makes all the difference!)
- 1 (12 oz) can evaporated milk
For the Maple Whipped Cream
Now for the crowning glory:
- 1 cup heavy cream, chilled (seriously, don’t skip chilling it)
- 2 tbsp pure maple syrup (go for Grade A or B – the darker the better for flavor)
- Pro tip: Chill your mixing bowl and beaters too for perfect peaks
How to Make Pumpkin Pie with Maple Whipped Cream
Alright, let’s dive into making this beauty! I promise it’s easier than you think – just follow these steps and you’ll have the perfect Pumpkin Pie with Maple Whipped Cream that’ll impress everyone at your table.
Preparing the Pie Crust
First things first – preheat that oven to 425°F (220°C). While it’s heating up, carefully unroll your pie crust into a 9-inch pie dish. Now, here’s my little trick – gently press the dough into the corners without stretching it (stretching leads to shrinkage!). Crimp those edges nice and pretty with your fingers – I like doing the classic pinch method, but get creative if you want!
If you’re worried about a soggy bottom (and who isn’t?), you can blind bake the crust for 10 minutes with pie weights or dry beans. But honestly? I usually skip this step with pumpkin pie because the baking time is long enough to crisp it up nicely.
Mixing the Pumpkin Filling
Now for the good stuff! In a large bowl, whisk together the pumpkin puree, sugar, cinnamon, ginger, cloves and salt until smooth. Crack in those room-temperature eggs one at a time, mixing well after each addition. Here’s where patience pays off – slowly drizzle in the evaporated milk while stirring constantly. I mean slowwwwly, like you’re pouring liquid gold! This gradual addition keeps everything silky smooth.
Pour that gorgeous orange filling into your waiting pie crust. It should come right up to the edge – no skimping! Give the pan a gentle tap on the counter to release any air bubbles.

Baking and Cooling
Pop your pie into the preheated oven for 15 minutes – this initial high heat helps set the crust. Then, without opening the door (I know it’s tempting!), reduce the heat to 350°F (175°C) and bake for another 40-45 minutes.
How do you know it’s done? The edges should be set, and the center should jiggle just slightly when you nudge the pan – like jello, not liquid. If it’s still too wobbly, give it 5 more minutes. Pull it out when it’s perfect and let it cool completely on a wire rack – at least 2 hours. I know waiting is hard, but cutting into a warm pie is a recipe for soup!
Whipping the Cream
While your pie cools, let’s make that heavenly maple whipped cream. Grab your chilled bowl and beaters – this is crucial for getting fluffy peaks! Pour in the cold heavy cream and maple syrup. Start beating on low, then gradually increase to high speed. Watch closely – you want stiff peaks that hold their shape when you lift the beaters, but stop before it turns to butter (we’ve all been there!).
Now the best part – slather that glorious cloud of maple cream over your cooled pie. I like to pile it high in the center and let it cascade down the sides. A sprinkle of cinnamon on top makes it extra pretty – not that it needs help looking delicious!
Why You’ll Love This Pumpkin Pie with Maple Whipped Cream
There are about a million reasons to adore this pie (okay, maybe I’m biased), but here are the big ones that keep me making it year after year:
- Perfectly balanced spices – The cinnamon, ginger and cloves blend together so harmoniously, without any single flavor overpowering the others. It’s like fall in every bite!
- Maple whipped cream magic – That simple two-ingredient topping transforms ordinary whipped cream into something extraordinary. The maple syrup adds just the right touch of earthy sweetness.
- Foolproof technique – No fancy skills required! Even beginner bakers can nail this recipe with my simple step-by-step method.
- Total crowd-pleaser – I’ve served this to picky eaters, foodies, and everyone in between – it disappears fast every single time!
- Makes any occasion special – Whether it’s Thanksgiving dinner or a random Tuesday night, this pie turns ordinary moments into sweet memories.
Tips for Perfect Pumpkin Pie with Maple Whipped Cream
After years of perfecting this recipe, I’ve learned a few tricks that make all the difference between good pumpkin pie and knock-your-socks-off pumpkin pie!
Protect that crust: About halfway through baking, cover the edges with foil or a pie shield. This prevents over-browning while the center finishes cooking. I learned this the hard way after one too many burnt crust disasters!
Chill everything for the whipped cream: Your bowl, beaters, even the cream itself should be ice-cold. I stick mine in the freezer for 10 minutes before whipping – it makes achieving those perfect stiff peaks so much easier.
Room temp eggs are key: Take your eggs out at least 30 minutes before mixing. They’ll incorporate much smoother into the filling than cold ones straight from the fridge.
Let it rest: As tempting as it is to dig in, resist! Letting the pie cool completely (2-3 hours minimum) allows the filling to set properly. Trust me, it’s worth the wait.
Pumpkin Pie with Maple Whipped Cream Variations
One of the best things about this recipe is how easily you can mix things up! Over the years, I’ve played around with all sorts of fun twists on my Pumpkin Pie with Maple Whipped Cream. For my dairy-free friends, swapping in coconut milk for the evaporated milk works beautifully – just use the same amount and you’ll get a subtly tropical twist.
Want to kick it up a notch? Try adding a tablespoon of bourbon to the filling for a grown-up version (the alcohol bakes off, leaving just delicious depth). Or mix some toasted pecans into the whipped cream for extra crunch. The possibilities are endless – make it your own!
Storing and Serving Suggestions
Here’s the scoop on keeping your Pumpkin Pie with Maple Whipped Cream tasting fresh! The pie keeps beautifully in the fridge for up to 3 days – just cover it loosely with plastic wrap. A little tip? Store the whipped cream separately and add it right before serving to keep everything looking picture-perfect.
If you want to freeze it (smart thinking for holiday prep!), skip the whipped cream topping and wrap the cooled pie tightly in plastic, then foil. It’ll keep for up to 2 months. Thaw overnight in the fridge when you’re ready to enjoy.
For serving, I love topping slices with extra maple whipped cream and a sprinkle of toasted pecans or a drizzle of caramel. A dusting of cinnamon or nutmeg makes it extra festive too – your guests will think you spent hours!
Pumpkin Pie with Maple Whipped Cream FAQs
I get asked about this recipe all the time – seems like everyone wants to make their Pumpkin Pie with Maple Whipped Cream absolutely perfect! Here are the answers to the questions that pop up most often in my kitchen:
Can I use fresh pumpkin instead of canned puree?
You absolutely can! I’ve done it both ways, and while canned is wonderfully convenient, fresh pumpkin has this incredible depth of flavor. Just roast a small sugar pumpkin (not the big carving kind!) until tender, scoop out the flesh, and puree until smooth. You’ll need about 2 cups of puree for this recipe. Pro tip: strain it through cheesecloth to remove excess moisture so your pie isn’t watery.
Why evaporated milk instead of regular milk or cream?
This was my grandma’s secret weapon! Evaporated milk has less water content than regular milk, which gives the pie its signature creamy texture without making it too dense. The slight caramelization from the canning process also adds this beautiful richness you just can’t get with fresh milk. I’ve tried every substitution under the sun, and nothing gives quite the same perfect balance as good old evaporated milk.
How can I prevent a soggy bottom crust?
Ah, the eternal pie dilemma! Here’s what works for me: First, make sure your oven is fully preheated before baking – that initial blast of heat helps set the crust quickly. Second, bake your pie on the lowest rack (but watch those edges don’t burn!). And my favorite trick? Brush the unbaked crust with a beaten egg white before adding the filling – it creates a protective barrier that keeps things crisp. If all else fails, a quick 10-minute blind bake never hurts!
Got more questions? Don’t hesitate to ask – I love helping fellow bakers master this Pumpkin Pie with Maple Whipped Cream magic. After all, great recipes are meant to be shared!
Nutritional Information
Let’s talk numbers for a minute – because while this Pumpkin Pie with Maple Whipped Cream tastes absolutely decadent, it’s not as heavy as you might think! Keep in mind these values are estimates and will vary slightly based on your specific ingredients (especially if you use that extra generous dollop of whipped cream like I always do). Here’s the breakdown per serving:
- Calories: 320
- Fat: 16g (8g saturated)
- Carbohydrates: 40g
- Fiber: 2g
- Protein: 5g
- Sugar: 25g
Not too shabby for a dessert that tastes this indulgent, right? The pumpkin actually packs some great nutrients too – vitamin A, fiber, and antioxidants. So really, you could almost call this health food… okay maybe not, but a girl can dream!

I’d love to hear how your Pumpkin Pie with Maple Whipped Cream turns out! Snap a pic of your masterpiece and tag me – there’s nothing I enjoy more than seeing your holiday baking creations. And if you try any fun variations, please share those too. Happy baking, friends – may your crusts always be golden and your whipped cream perfectly stiff!
PrintHeavenly Pumpkin Pie with Maple Whipped Cream Bliss
A classic pumpkin pie topped with homemade maple whipped cream. Perfect for fall gatherings or holiday desserts.
- Prep Time: 20 minutes
- Cook Time: 60 minutes
- Total Time: 80 minutes
- Yield: 8 servings 1x
- Category: Dessert
- Method: Baking
- Cuisine: American
- Diet: Vegetarian
Ingredients
- 1 (9-inch) unbaked pie crust
- 1 (15 oz) can pumpkin puree
- 3/4 cup granulated sugar
- 1 tsp ground cinnamon
- 1/2 tsp ground ginger
- 1/4 tsp ground cloves
- 1/2 tsp salt
- 2 large eggs
- 1 (12 oz) can evaporated milk
- 1 cup heavy cream
- 2 tbsp maple syrup
Instructions
- Preheat oven to 425°F (220°C).
- Place pie crust in a 9-inch pie dish and crimp edges.
- In a bowl, mix pumpkin puree, sugar, cinnamon, ginger, cloves, and salt.
- Beat in eggs, then gradually stir in evaporated milk.
- Pour filling into the pie crust.
- Bake for 15 minutes, then reduce heat to 350°F (175°C) and bake for 40-45 minutes until set.
- Let cool completely.
- Whip heavy cream and maple syrup until stiff peaks form.
- Spread whipped cream over the cooled pie before serving.
Notes
- Use fresh pumpkin puree for a richer flavor.
- Chill the bowl and beaters before whipping the cream for best results.
- For a deeper maple flavor, use dark maple syrup.
Nutrition
- Serving Size: 1 slice
- Calories: 320
- Sugar: 25g
- Sodium: 280mg
- Fat: 16g
- Saturated Fat: 8g
- Unsaturated Fat: 6g
- Trans Fat: 0g
- Carbohydrates: 40g
- Fiber: 2g
- Protein: 5g
- Cholesterol: 80mg


