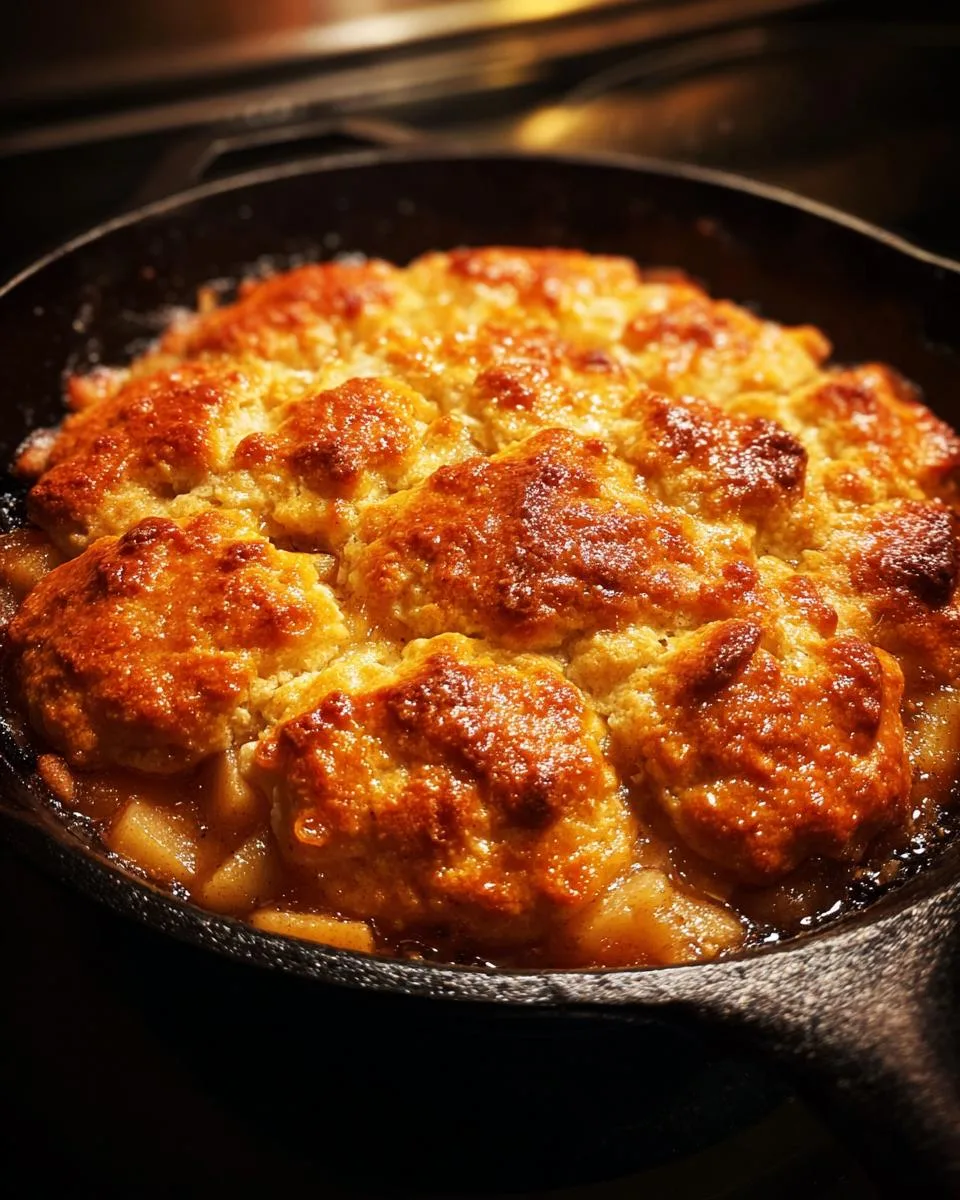
There’s something magical about pulling a bubbling skillet of apple cobbler from the oven – that first whiff of cinnamon and caramelized sugar hits you, and suddenly, all feels right with the world. My love for this Skillet Apple Cobbler started on a chilly autumn afternoon when I desperately needed comfort food. I grabbed whatever apples were left from our last orchard trip and threw them into Grandma’s cast iron skillet (the one with all the good kitchen memories baked into it). The edges crisped up beautifully while the center stayed gooey – absolute perfection! What makes this dessert extra special? You likely have all the ingredients already, and that rustic skillet presentation makes even the simplest meal feel like a celebration.
Why You’ll Love This Skillet Apple Cobbler
Let me tell you why this dessert never lasts long in my house:
- Effortless elegance: No fancy techniques here – just toss, mix, and bake. Even my 10-year-old can make it (with supervision around that hot skillet!).
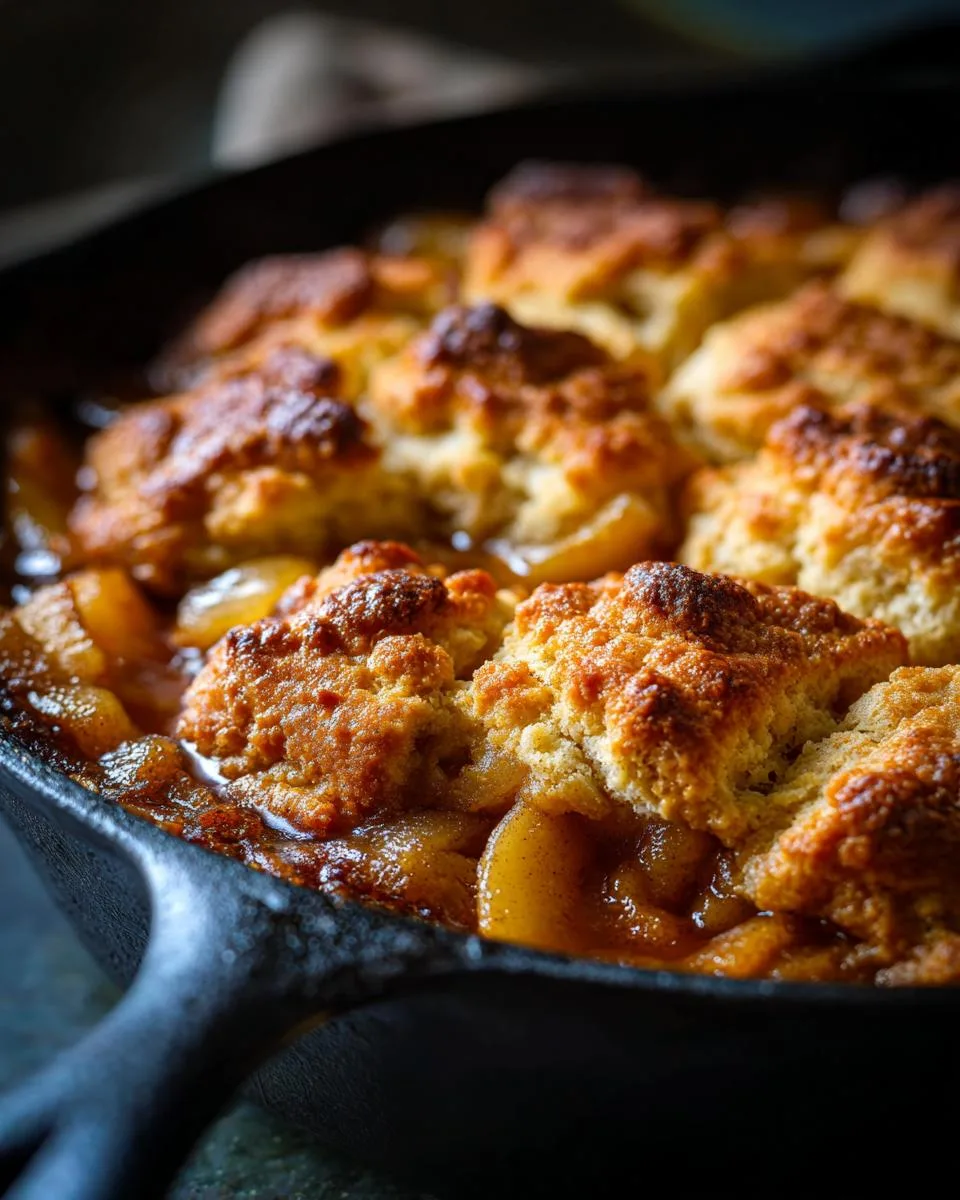
- That crispy-soggy magic: The golden biscuit topping cracks open to reveal tender apples underneath – every bite’s a perfect texture contrast.
- Instant cozy vibes: That cinnamon-scented steam rising from the cast iron? Pure comfort food therapy after a long day.
- No special occasion needed: Weeknight dessert or last-minute potluck hero – it always feels special but demands zero fuss.
Ingredients for Skillet Apple Cobbler
Here’s everything you’ll need for this cozy dessert (measurements matter – I’ve learned that the hard way!):
- 4 cups peeled and sliced apples (I prefer Granny Smith for their tartness)
- 1/2 cup granulated sugar for sweetening those tart apples
- 1 tsp cinnamon – don’t skimp, this is the flavor backbone!
- 1 cup all-purpose flour (spooned and leveled, not packed)
- 1/2 cup packed brown sugar – pack it firmly like I do with my suitcase
- 1 tsp baking powder – check the date for maximum lift
- 1/4 tsp salt to balance all that sweetness
- 1/2 cup milk – whole milk gives the richest texture
- 1/4 cup melted butter – unsalted lets you control the saltiness
Pro tip: Set your butter out early! Room temp ingredients blend smoother.
Equipment You’ll Need
Grab these trusty kitchen tools (you probably already have most!):
- 10-inch oven-safe skillet (cast iron makes the best crispy edges)
- 2 mixing bowls – one for apples, one for topping
- Measuring cups & spoons
- Rubber spatula or wooden spoon for mixing
Bonus: An ice cream scoop makes perfect topping dollops!
How to Make Skillet Apple Cobbler
Ready to create some magic? This is where that pile of ingredients transforms into dessert gold. Follow these simple steps – I promise, it’s easier than convincing kids to eat their veggies!
Step 1: Prep the Apples
First, grab that trusty 10-inch skillet (cast iron if you’ve got it – that’s my ride-or-die). Toss your peeled, sliced apples with the granulated sugar and cinnamon until they’re all cozy and coated. No need to be gentle here – give them a good mix so every slice gets some love. Spread them evenly in the skillet like you’re tucking them into bed. They’ll thank you later when they’re bubbling away under that golden topping!
Step 2: Make the Topping
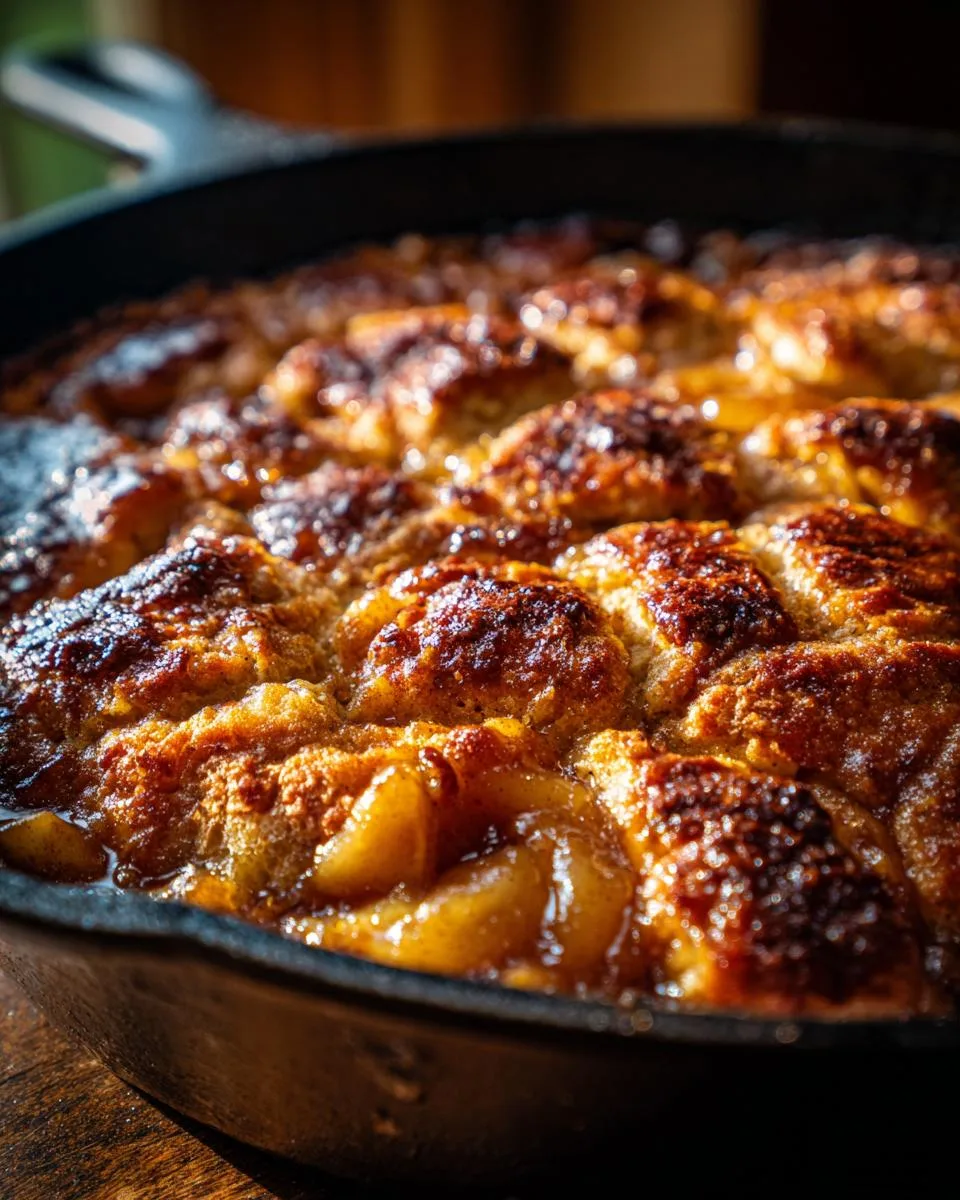
Now for the fun part! In another bowl, whisk together the flour, packed brown sugar (really pack it – I use my fingers), baking powder, and salt. Pour in the milk and melted butter all at once and stir just until combined. The batter will be thick and lumpy – that’s perfect! If it looks too dry, add a splash more milk. Too wet? A dusting of extra flour. I drop spoonfuls over the apples haphazardly – rustic charm is the goal here, not perfection.
Step 3: Bake to Perfection
Pop that beauty into your preheated 350°F oven and let the magic happen. Set your timer for 35 minutes, but start peeking around 30 – every oven lies a little. You’re looking for golden brown perfection with juices bubbling up around the edges like tiny caramel volcanoes. The smell will hit you first – that’s when you know it’s almost time. Let it cool just long enough that you won’t burn your tongue (who am I kidding – I never wait). Grab some vanilla ice cream and dig in!
Tips for the Best Skillet Apple Cobbler
After countless batches (and happy taste-testers), here are my can’t-live-without tricks:
- Apple selection matters: Mix tart Granny Smith with sweeter Honeycrisp for perfect balance – the tart ones hold their shape while baking.
- Slice thickness is key: Cut apples about 1/4-inch thick – too thin turns mushy, too thick stays crunchy.
- Brown sugar swap: Dark brown sugar adds deeper caramel notes if you’re feeling fancy.
- Skillet preheat: Warm your skillet slightly before adding apples for extra crispy edges (my grandma’s sneaky move).
Trust me – these small touches make a huge difference!
Serving Suggestions
Oh honey, let’s talk about the best part – eating this cobbler! For maximum happiness, serve warm with a scoop of vanilla ice cream melting over the top (the cold/hot contrast is everything). Whipped cream and a sprinkle of cinnamon works too if you’re feeling fancy, but honestly? It’s incredible straight from the skillet with just a spoon.
Storing and Reheating
This cobbler disappears fast in my house, but if you miraculously have leftovers, here’s how to keep them tasting fresh: Cover the cooled skillet tightly with foil and refrigerate for up to 3 days. To reheat, pop it back in a 300°F oven for 10-15 minutes – that crispy topping will come right back to life!
Skillet Apple Cobbler Variations
Once you’ve mastered the classic, try these fun twists that make this recipe your own:
- Nutty crunch: Stir 1/2 cup chopped pecans or walnuts into the topping – that toasty flavor pairs perfectly with the apples.
- Caramel drizzle: Right after baking, pour warm caramel sauce over the cobbler (I won’t judge if you lick the spoon).
- Spiced up: Add 1/4 tsp nutmeg or cardamom to the apple mixture for extra warmth.
- Berry bonanza: Swap half the apples for frozen mixed berries when you’re craving summer flavors.
The beauty? This recipe welcomes creativity – make it yours!
Frequently Asked Questions
Here are answers to the questions I get asked most about this Skillet Apple Cobbler (and yes, I’ve made all these “mistakes” so you don’t have to!):
Can I use a different pan if I don’t have a skillet?
Absolutely! While the skillet gives that rustic charm, any 9×9 inch baking dish works fine. Just grease it well and watch the baking time – glass pans might need a few extra minutes.
What’s the best apple substitute if I’m out of fresh ones?
Emergency pantry hack: frozen sliced apples or even canned apple pie filling in a pinch (reduce the sugar since they’re sweeter). Texture won’t be exactly the same, but it’ll still taste delicious!
Can I make this ahead of time?
You bet! Prepare the apple mixture and topping separately, refrigerate overnight, then assemble and bake when needed. The flavors actually deepen – my secret for stress-free entertaining!
Why did my topping sink into the apples?
Oh honey, we’ve all been there! This usually means your batter was too thin or your apples weren’t sliced thick enough. Next time, use thicker apple slices and make sure your topping batter is nice and thick – like pancake batter consistency.
Can I freeze leftovers?
Freezing works surprisingly well! Let it cool completely, wrap tightly in foil, and freeze for up to 2 months. Thaw overnight in the fridge, then reheat in a 300°F oven until warmed through (about 20 minutes). The topping won’t be quite as crisp, but the flavor holds up beautifully!
Nutritional Information
Here’s the scoop on what’s in each warm, gooey serving (based on 1/6 of the recipe):
- 280 calories – totally worth every bite!
- 52g carbs (32g from natural sugars in those sweet apples)
- 8g fat – mostly from that glorious butter
- 3g fiber – thanks to keeping those apple skins on (optional!)
Remember: These are estimates – actual numbers can vary based on your exact ingredients and portion sizes (no judgment here if you sneak an extra-large scoop!).
Now go make some memories with this recipe – I’d love to hear how yours turns out! Tag me if you share photos – nothing makes me happier than seeing your skillet creations.
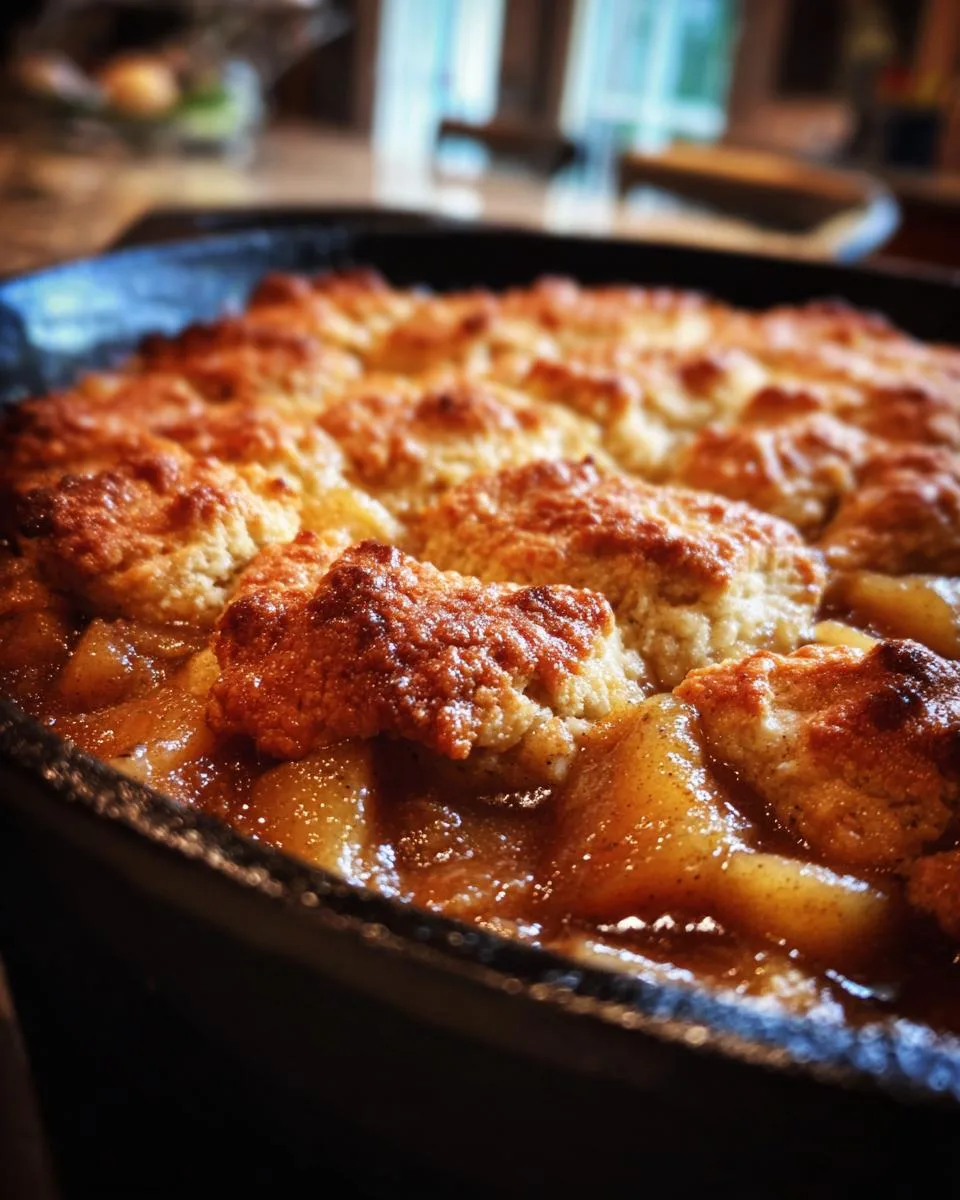
Skillet Apple Cobbler
A warm and comforting dessert made with fresh apples and a sweet biscuit topping, cooked in a skillet for a rustic touch.
- Prep Time: 15 minutes
- Cook Time: 35 minutes
- Total Time: 50 minutes
- Yield: 6 servings 1x
- Category: Dessert
- Method: Baking
- Cuisine: American
- Diet: Vegetarian
Ingredients
- 4 cups peeled and sliced apples
- 1/2 cup granulated sugar
- 1 tsp cinnamon
- 1 cup all-purpose flour
- 1/2 cup brown sugar
- 1 tsp baking powder
- 1/4 tsp salt
- 1/2 cup milk
- 1/4 cup melted butter
Instructions
- Preheat oven to 350°F (175°C).
- Combine apples, granulated sugar, and cinnamon in a bowl. Spread evenly in a skillet.
- In another bowl, mix flour, brown sugar, baking powder, and salt.
- Stir in milk and melted butter until combined.
- Drop spoonfuls of the batter over the apples.
- Bake for 35-40 minutes until golden brown.
- Serve warm with ice cream if desired.
Notes
- Use firm apples like Granny Smith for best results.
- Adjust sugar to taste depending on apple sweetness.
Nutrition
- Serving Size: 1/6 recipe
- Calories: 280
- Sugar: 32g
- Sodium: 180mg
- Fat: 8g
- Saturated Fat: 5g
- Unsaturated Fat: 2g
- Trans Fat: 0g
- Carbohydrates: 52g
- Fiber: 3g
- Protein: 3g
- Cholesterol: 20mg

