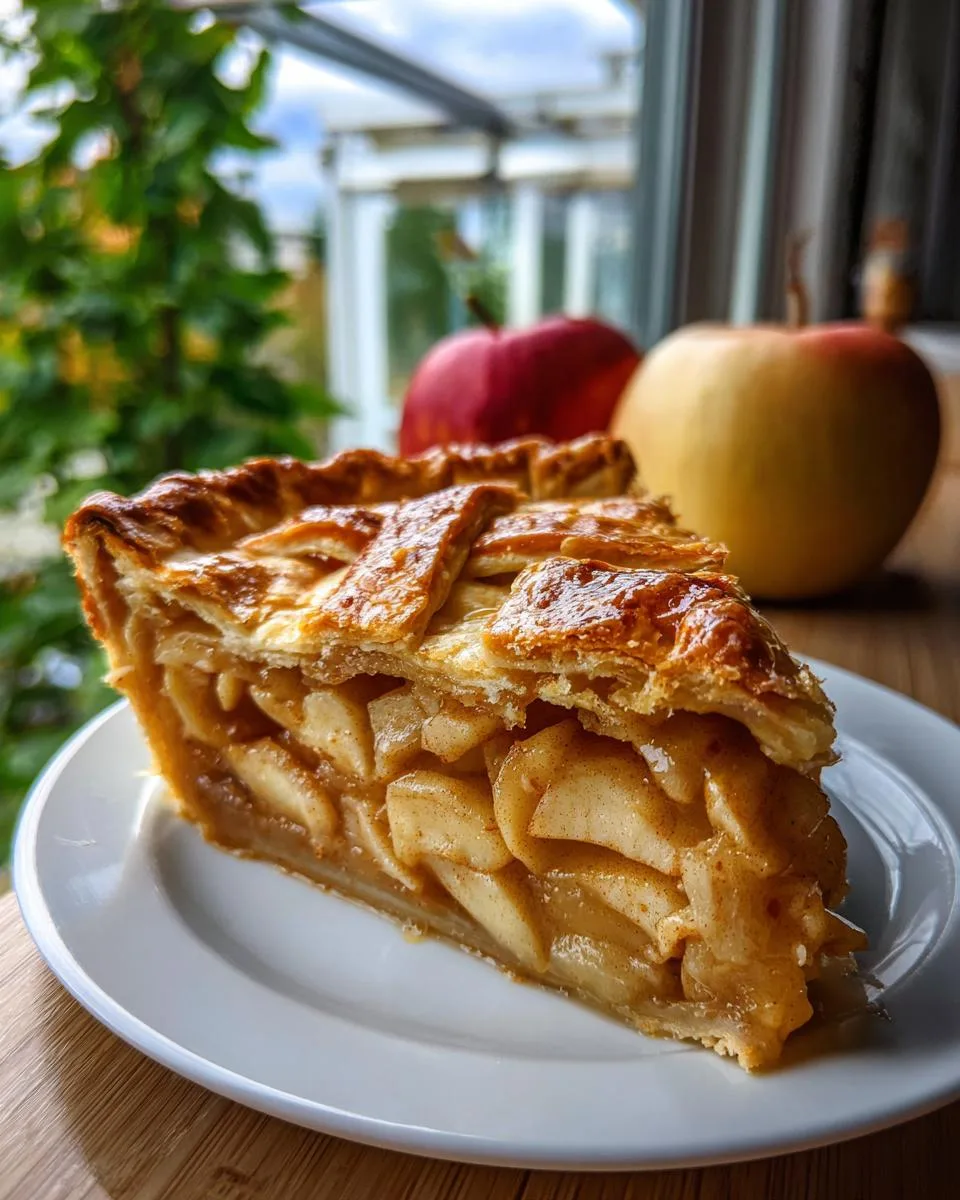
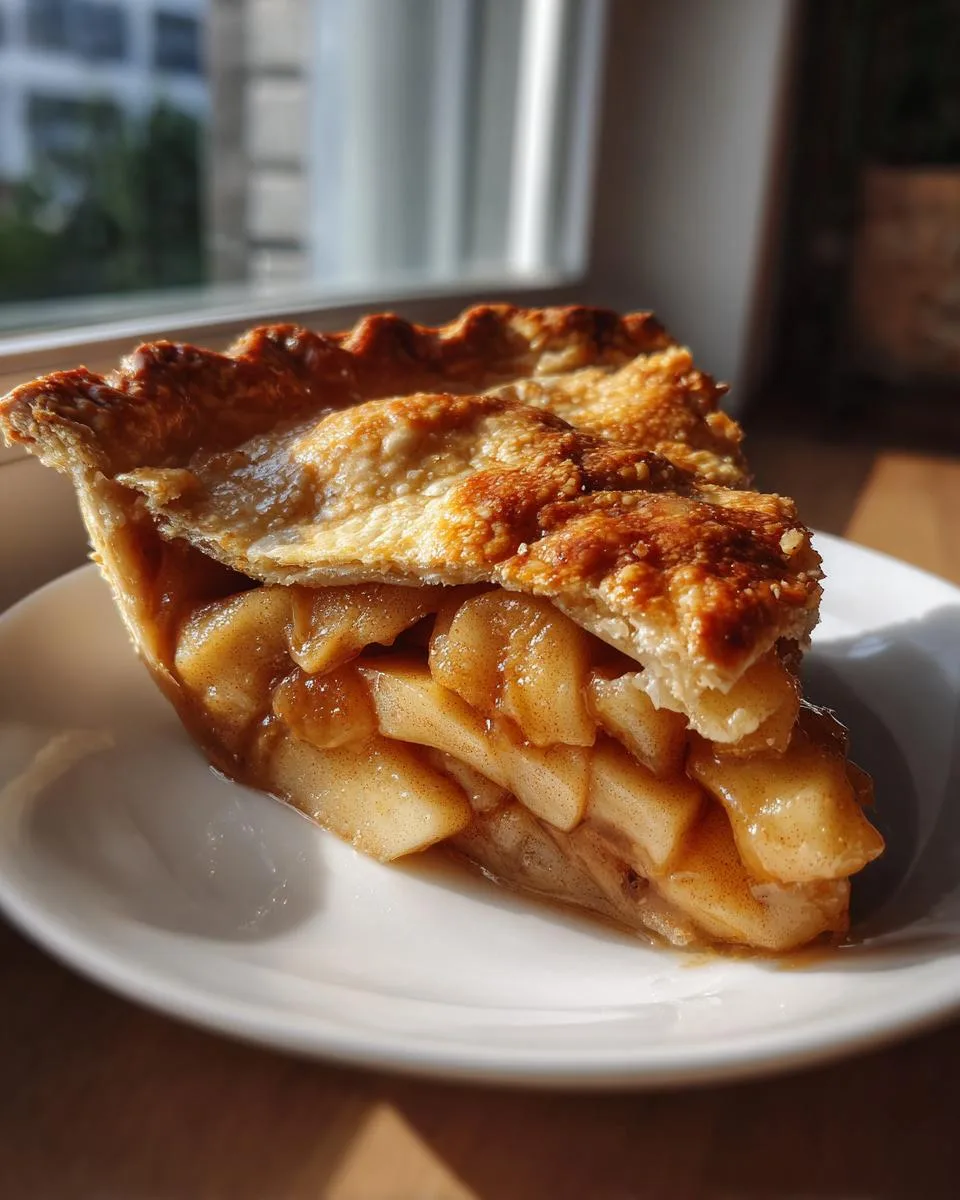
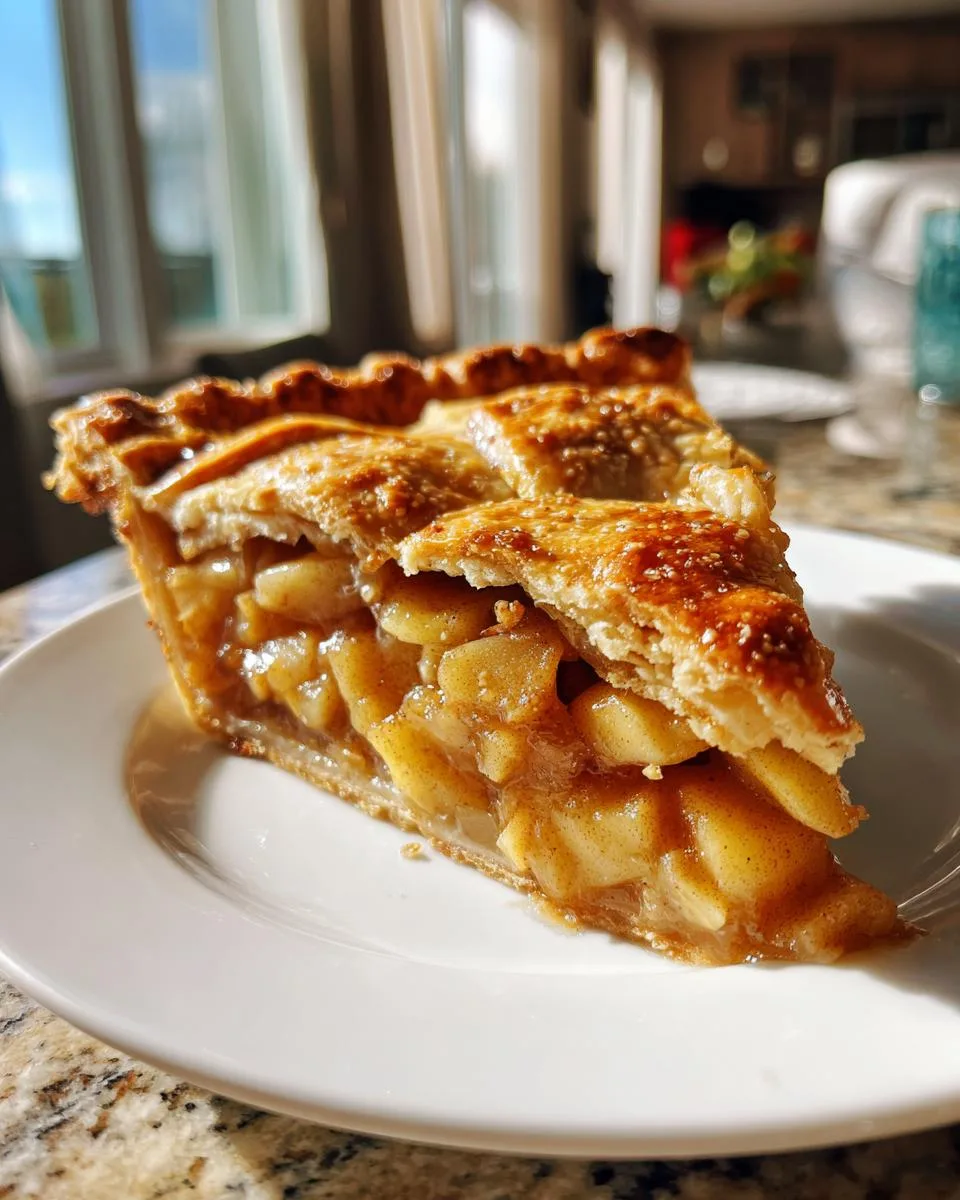
There’s something magical about the smell of a Classic Double-Crust Apple Pie baking in the oven – it instantly takes me back to my grandma’s kitchen, where the scent of cinnamon and buttery pastry would fill the air every fall. That first bite of warm pie, with its flaky crust giving way to perfectly spiced apples, became my definition of comfort food. After years of trial and error (and more than a few soggy-bottomed disasters), I’ve finally perfected my version that stays true to those childhood memories. The secret? Keeping things simple with quality ingredients and letting the natural sweetness of the apples shine through.

Why You’ll Love This Classic Double-Crust Apple Pie
Trust me, this isn’t just any apple pie – it’s the kind that makes people ask for seconds (and the recipe). Here’s why:
- That flaky crust – Cold butter and careful handling create layers that shatter beautifully with each bite
- Perfectly balanced filling – Not too sweet, not too tart, with just the right blend of warm spices
- Old-fashioned charm – It looks and tastes like the pies your grandmother used to make
- Surprisingly simple – No fancy techniques needed, just good ingredients and a little patience
Ingredients for Classic Double-Crust Apple Pie
Let’s gather everything you’ll need for pie perfection. I like to separate my ingredients into two categories – crust first, then filling – because that’s how I prep my baking station. Trust me, this organization saves so much time!
For the crust:
- 2 1/2 cups all-purpose flour – spooned and leveled, please!
- 1 tsp salt – just regular table salt works great
- 1 cup unsalted butter, chilled and diced – yes, it must be cold!
- 6-8 tbsp ice water – keep that water icy cold
For the filling:
- 6-7 medium apples, peeled and sliced – I’ll explain varieties below
- 3/4 cup granulated sugar – but we can adjust this
- 2 tbsp lemon juice – fresh is best, but bottled works in a pinch
- 1 tsp ground cinnamon – the good stuff, none of that stale spice
- 1/4 tsp ground nutmeg – freshly grated if you’re feeling fancy
- 1/4 tsp salt – balances all that sweetness
- 2 tbsp unsalted butter, diced – for dotting the filling
- 1 egg, beaten – for that beautiful golden crust
Ingredient Notes & Substitutions
Okay, let’s talk substitutions because I know you might not have everything on hand. For the crust, if you’re short on time (or patience), store-bought crust works – but homemade is SO much better. The butter must be cold – this creates steam pockets that make the crust flaky. Room temperature butter gives you a sad, dense crust.
For apples, I love a mix of tart (Granny Smith) and sweet (Honeycrisp). Frozen apples? Sure, but thaw and drain them well first. Sugar alternatives like brown sugar or maple syrup work, but adjust quantities – start with less and taste. And if you’re out of lemon juice, a splash of apple cider vinegar helps prevent browning too.

Step-by-Step Instructions for Classic Double-Crust Apple Pie
Alright, let’s get our hands floury! I’ve made this pie so many times I could do it in my sleep, but I’ll walk you through each step carefully – no pastry chef skills required. Just follow along, and you’ll have a gorgeous pie before you know it.
- Make the dough: Whisk flour and salt together in a big bowl. Now grab that chilled butter and start cutting it in with a pastry cutter (or two knives if you’re old-school like me). You want pea-sized crumbs. Drizzle in ice water 1 tablespoon at a time, mixing gently until the dough just comes together when you squeeze it. Don’t overmix!
- Chill it good: Divide dough into two balls, flatten into disks, wrap in plastic, and pop in the fridge for at least 1 hour (overnight’s even better). This relaxes the gluten so your crust stays tender.
- Prep the filling: While dough chills, toss your apple slices with sugar, lemon juice, cinnamon, nutmeg and salt. Let them sit 15 minutes – you’ll see juices start to form. Drain off about half this liquid (trust me, or you’ll get a soggy bottom!).
- Roll it out: On a floured surface, roll one dough disk into a 12-inch circle. Gently transfer to your pie dish – I like to roll it around my rolling pin to move it. Leave about 1 inch hanging over the edges.
- Fill ‘er up: Pile in your apples (don’t overfill – mound them slightly in the center) and dot with those butter pieces. Brush the edge with water so the top crust will stick.
- Top it off: Roll out the second dough disk, place over filling, and crimp edges with your fingers or a fork. Cut 4-5 slits in the top so steam can escape. Brush with beaten egg for that gorgeous golden shine.
- Bake to perfection: 375°F for 50-60 minutes until the crust is deep golden brown and you see bubbling juices peeking through the vents. If edges brown too fast, cover with foil strips.
Pro Tips for the Perfect Crust
Here’s my golden rule: keep everything cold. I even chill my rolling pin! For easiest rolling, sandwich dough between parchment paper. If your bottom crust tends to get soggy, try blind baking it for 10 minutes first (just prick with a fork and weigh down with pie weights or dry beans). And when sealing edges, a little water or egg wash makes them stick like glue.
Baking and Serving Your Classic Double-Crust Apple Pie
The hardest part? Waiting for this beauty to cool! That heavenly scent will have you hovering by the oven, but resist cutting for at least 2 hours – the filling needs time to set properly. I know, torture! But trust me, slicing too soon turns your perfect pie into apple soup (learned that the messy way).
When it’s finally time, warm slices with a scoop of vanilla ice cream melting over the top is my absolute must. The contrast of cold cream against spiced apples? Pure magic. Leftovers (ha!) keep well at room temperature under a tea towel for about 3 days – if it lasts that long! For longer storage, wrap tightly and refrigerate, then gently reheat slices in the oven to revive that flaky crust.

Classic Double-Crust Apple Pie Variations
While I adore the traditional version, sometimes I like to mix things up! For a caramel apple twist, drizzle warm caramel sauce over the baked pie – the sticky sweetness plays beautifully with tart apples. Feeling adventurous? Swap cinnamon for cardamom or add a pinch of black pepper for surprising depth. My winter favorite? Tossing in dried cranberries with the apples for little pops of tartness. The possibilities are endless, but that flaky double crust stays my constant!
FAQs About Classic Double-Crust Apple Pie
Q: Can I freeze the unbaked pie?
Absolutely! Assemble the pie (including egg wash), wrap tightly in plastic, then foil, and freeze for up to 3 months. Bake straight from frozen – just add 15-20 extra minutes. The crust might not get quite as flaky, but it’s a lifesaver during holiday craziness!
Q: Why did my filling sink after baking?
Ah, the dreaded “pie gap”! This usually happens if the apples were sliced too thin or packed too loosely. Next time, cut thicker slices and mound them higher than the pie rim – they’ll shrink down perfectly. And never skip that resting time after baking!
Q: My crust is too tough – what went wrong?
Sounds like overworked dough, my friend. When making pie crust, treat it like a delicate flower – minimal handling, no overmixing. And that 1-hour chill time? Non-negotiable! It relaxes the gluten so your crust stays tender and flaky.
Q: Can I make this pie ahead?
You bet! The unbaked pie keeps refrigerated for 2 days (just add 5 minutes to baking time). Baked pie stays fresh at room temp for 3 days – though in my house, it never lasts that long!
Nutritional Information
Just so you know what you’re indulging in (because let’s be real – no one eats apple pie for the health benefits!), here’s the breakdown per slice. Remember, values are estimates and will vary based on your specific ingredients:
- Calories: 320
- Sugar: 25g
- Fat: 14g (8g saturated)
- Carbs: 45g
- Fiber: 3g
- Protein: 3g
Now go enjoy that slice – life’s too short to count crumbs in apple pie!
I’d love to see your Classic Double-Crust Apple Pie creations! Snap a photo of that golden crust and tag me – nothing makes me happier than seeing your kitchen filled with that same cinnamon-scented joy mine was when I first mastered this recipe.
PrintIrresistible Classic Double-Crust Apple Pie Your Grandma Would Crave
A classic double-crust apple pie with a flaky crust and sweet, spiced apple filling.
- Prep Time: 30 minutes
- Cook Time: 1 hour
- Total Time: 1 hour 30 minutes
- Yield: 8 servings 1x
- Category: Dessert
- Method: Baking
- Cuisine: American
- Diet: Vegetarian
Ingredients
- 2 1/2 cups all-purpose flour
- 1 tsp salt
- 1 cup unsalted butter, chilled and diced
- 6–8 tbsp ice water
- 6–7 medium apples, peeled and sliced
- 3/4 cup granulated sugar
- 2 tbsp lemon juice
- 1 tsp ground cinnamon
- 1/4 tsp ground nutmeg
- 1/4 tsp salt
- 2 tbsp unsalted butter, diced
- 1 egg, beaten (for egg wash)
Instructions
- Mix flour and salt in a bowl. Cut in butter until crumbs form.
- Add ice water 1 tbsp at a time until dough comes together.
- Divide dough into two disks, wrap in plastic, and chill for 1 hour.
- Preheat oven to 375°F (190°C).
- Roll out one dough disk into a 12-inch circle and place in a pie dish.
- Toss apples with sugar, lemon juice, cinnamon, nutmeg, and salt. Fill the pie crust.
- Dot with butter.
- Roll out the second dough disk and place over the filling. Seal edges and cut slits on top.
- Brush with egg wash.
- Bake for 50-60 minutes until golden brown.
Notes
- Use a mix of tart and sweet apples for balanced flavor.
- Chill dough before rolling for easier handling.
- Let pie cool before slicing to set the filling.
Nutrition
- Serving Size: 1 slice
- Calories: 320
- Sugar: 25g
- Sodium: 200mg
- Fat: 14g
- Saturated Fat: 8g
- Unsaturated Fat: 5g
- Trans Fat: 0g
- Carbohydrates: 45g
- Fiber: 3g
- Protein: 3g
- Cholesterol: 45mg


