
I still remember the first time I made this pumpkin pudding. It was a chilly October afternoon, and the smell of cinnamon and nutmeg filled my tiny kitchen. I was nervous, honestly—baked custards can be tricky—but the moment I pulled that dish out of the oven, I knew I’d found something special. The texture was impossibly creamy, almost velvety, and the warm spices wrapped around that rich pumpkin flavor like a cozy blanket. What I love most about this pumpkin pudding is how it makes me look like a dessert wizard with almost no effort. You just whisk together simple ingredients—canned pumpkin, eggs, milk, a few pantry spices—and let the oven do the work. It’s the kind of dessert that feels fancy enough for Thanksgiving but easy enough for a random Tuesday night. In this article, I’m sharing all my tips and tricks to help you nail that perfect silky texture every single time, including the water bath secret that makes all the difference.
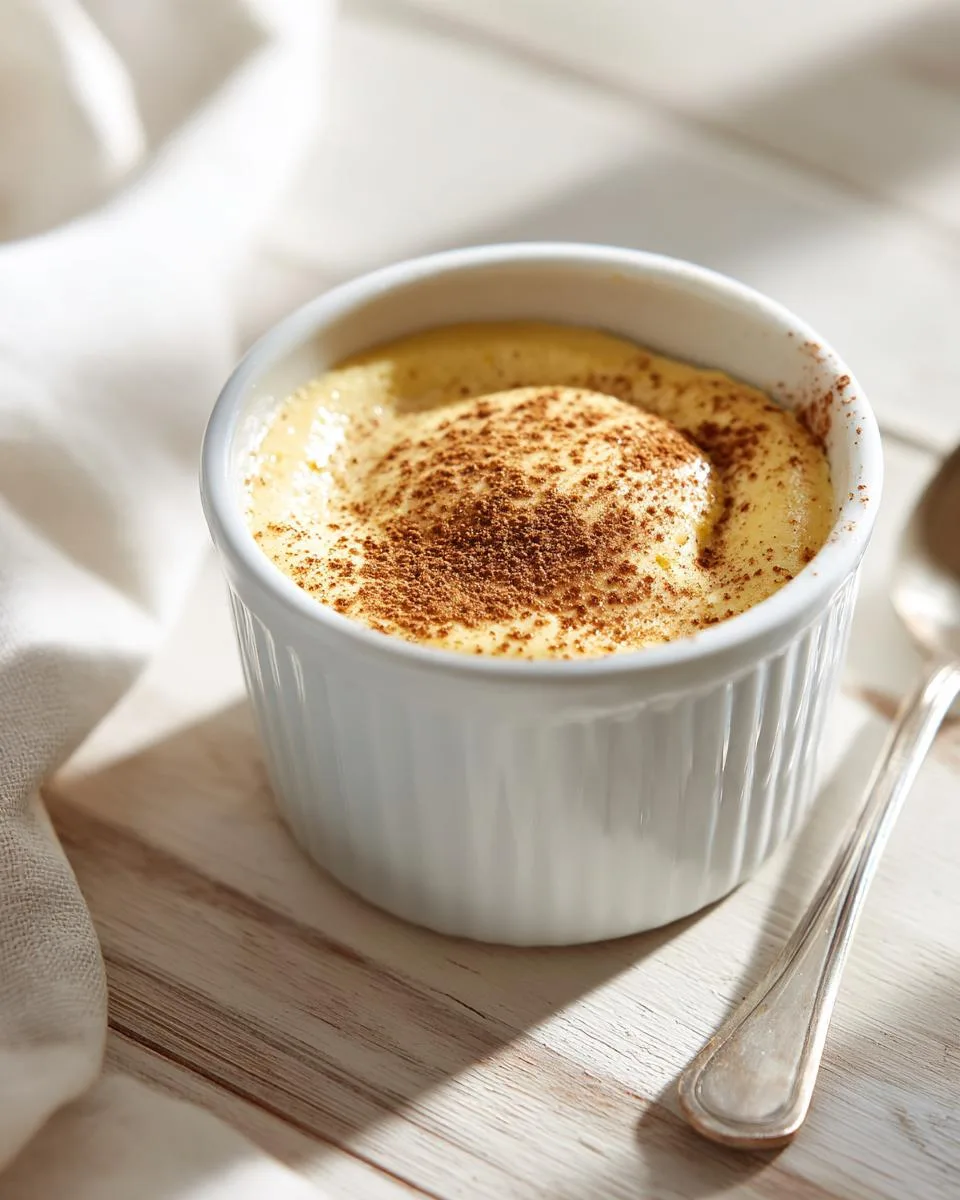
Why You’ll Love This Pumpkin Pudding
So why should you make this pumpkin pudding? Let me count the ways – it’s honestly become my go-to dessert for almost any situation.
- Silky smooth texture. The water bath gives it that velvety, custard-like consistency that just melts on your tongue. No graininess, no rubbery spots.
- Deep, real pumpkin flavor. Canned puree keeps it consistent and concentrated – none of that watery fresh-pumpkin disappointment. The spices just amplify it.
- Ridiculously simple prep. You literally whisk everything in one bowl and pour it into a dish. No stand mixer, no sifting, no fuss.
- Make-ahead magic. This pudding actually tastes better after chilling overnight. Perfect for holiday stress – you can prep it the day before and just pull it out when guests arrive.
- Vegetarian-friendly and naturally gluten-free. It’s a dessert everyone can enjoy, no special tweaks needed.
A Dessert That Fits Any Occasion
I’ve served this pumpkin pudding at Thanksgiving dinner alongside the pie, and I’ve also made it for a random Wednesday night treat when I needed something cozy. It’s that flexible. You can pour it into one large dish for a crowd or divide it into individual ramekins for a fancy touch. Kids love the creamy sweetness, and adults appreciate the warm spice depth. It’s forgiving too – if you’re a little off on the baking time, it still turns out delicious. Honestly, this pudding never judges you.
Pumpkin Pudding Ingredients You Will Need
Let’s talk ingredients. I’ve tested this recipe so many times, and here’s exactly what you need. You’ll want one 15-ounce can of plain pumpkin puree – not the pumpkin pie filling, which has sugar and spices already added. Grab three large eggs at room temperature for the smoothest texture. One cup of whole milk gives it that rich, creamy body. For sweetness, I use half a cup of granulated sugar and a quarter cup of packed brown sugar – the brown sugar adds a little molasses depth. Then a teaspoon of vanilla extract, a teaspoon of cinnamon, half a teaspoon of ginger, and a quarter teaspoon of nutmeg. Don’t forget the salt – just a quarter teaspoon to balance the flavors. This list makes exactly six servings, and all the spices are flexible if you want to tweak them to your taste.
Ingredient Substitutions and Swaps
If you want a richer pudding, swap the whole milk for half-and-half – it’s amazing. Don’t have individual spices? Use two teaspoons of pumpkin pie spice instead. You can replace the granulated sugar with coconut sugar, but keep the brown sugar as is. I’d steer clear of almond milk; it can make the texture a bit watery. And while fresh pumpkin puree works, you have to drain it really well or the pudding will be too runny. Stick with canned for the most reliable results.
Equipment Needed for Pumpkin Pudding
The best part about this pumpkin pudding? You probably already have everything in your kitchen. Grab a large mixing bowl and a whisk – that’s your main setup. You’ll need an 8-inch baking dish (or a similar shallow dish) and a larger roasting pan for the water bath. A kettle for hot water makes life easier, but a pot works too. If you want that extra-silky texture, a fine-mesh strainer is nice for straining the batter, but totally optional. A kitchen scale can help if you’re weighing ingredients, but I never bother. That’s it – no fancy gadgets required for this pumpkin pudding.
How to Make Pumpkin Pudding Step by Step
Alright, let’s get into the nitty-gritty. This pumpkin pudding comes together faster than you’d think, but a few little tricks make all the difference between a silky custard and a curdled mess. Trust me, I’ve learned them the hard way so you don’t have to.
Preparing the Pumpkin Pudding Mixture
First things first – preheat your oven to 350°F (175°C). Don’t skip this step. In a large bowl, whisk the eggs and pumpkin puree together until they’re completely combined. Whisking the eggs with the pumpkin first helps prevent lumps from forming later. Then gradually add the milk, both sugars, vanilla, cinnamon, ginger, nutmeg, and salt. Stir gently until everything is smooth – the batter will look quite thin, and that’s totally normal. Try not to overmix or you’ll incorporate too many air bubbles that can cause cracking. Just a gentle, steady whisk does the job.
Baking the Pumpkin Pudding in a Water Bath
The water bath is your secret weapon for that creamy, velvety texture. Pour the batter into a greased 8-inch baking dish, then place that dish inside a larger roasting pan. Carefully pour hot water into the larger pan until it reaches about halfway up the sides of the baking dish – this keeps the pudding cooking evenly and prevents the edges from setting too fast. Bake for 45 minutes. You’ll know it’s done when the edges are set and the center still jiggles slightly when you gently shake the pan. Don’t keep baking until it’s completely firm or it’ll crack and turn rubbery. Trust the jiggle!
Cooling and Chilling Your Pumpkin Pudding
As soon as the pudding comes out of the oven, remove the baking dish from the water bath. Set it on a wire rack to cool to room temperature – this usually takes about 30 minutes. Then cover it with plastic wrap and pop it in the fridge for at least 2 hours. That chill time is non-negotiable; it lets the pumpkin pudding set into that perfect sliceable custard. Even better, make it a day ahead. The texture actually improves overnight as the flavors meld and deepen. Patience pays off here.
Tips for Perfect Pumpkin Pudding Every Time
After making this pumpkin pudding more times than I can count, I’ve picked up a few tricks that separate a good pudding from a great one. Let me share what I’ve learned.
- Strain the batter for silkiness. If you want that ultra-smooth, velvety texture, pour the batter through a fine-mesh strainer before baking. It catches any stray lumps or egg bits – trust me, it’s worth the extra 30 seconds.
- Use room-temperature eggs. Cold eggs can make the mixture seize up and create little curdled spots. Just set them on the counter while you gather your ingredients, and they’ll be perfect by the time you whisk.
- Pack your brown sugar firmly. Don’t just scoop it loosely – press it into the measuring cup so it holds its shape when you turn it out. That molasses depth really matters here.
- Check the pudding at 40 minutes. Ovens vary, and 45 minutes might be too long for yours. Start peeking at the 40-minute mark. The edges should be set and the center should jiggle like Jell-O when you gently shake the pan.
- That jiggle is your friend. I know it’s tempting to keep baking until it’s solid, but don’t. The center will firm up beautifully as it chills. Patience is honestly the secret to the best pumpkin pudding texture.
Pumpkin Pudding Variations to Try
Once you’ve mastered the basic recipe, it’s fun to play around. My favorite twist is adding a teaspoon of orange zest to the batter – it brightens up that cozy pumpkin flavor in the most delightful way. For a maple version, swap the brown sugar for an equal amount of maple syrup (reduce the milk by a tablespoon to keep the consistency right). The maple adds a woodsy sweetness that’s amazing for fall. And if you need a dairy-free option, use full-fat coconut milk and replace the whole milk with it, plus swap the cream topping for coconut cream. The texture stays luscious, and you get a subtle coconut undertone that pairs beautifully with the spices. All super easy tweaks that feel totally new.
Serving Suggestions for Pumpkin Pudding
I love serving this pumpkin pudding with a generous dollop of whipped cream and a light dusting of cinnamon on top – it’s simple and perfect. A drizzle of caramel sauce takes it over the top if you’re feeling fancy. For a little crunch, I’ll set out a plate of shortbread cookies or vanilla wafers alongside; the buttery snap contrasts beautifully with the creamy pudding. It also pairs wonderfully with a hot cup of coffee or a mug of spiced tea. And if you’re serving it for guests, try spooning it into clear glasses or small parfait cups – you get to see those gorgeous creamy layers, and it looks instantly elegant.
Storing and Reheating Pumpkin Pudding
Leftovers keep beautifully in the fridge for up to four days – if they last that long! Just cover the dish tightly with plastic wrap, or spoon individual portions into little airtight containers. I never freeze this pudding, though; the texture gets watery and sad when it thaws, and you lose all that silky magic. This pumpkin pudding is honestly best served cold straight from the fridge. If you want it a touch softer, let it sit on the counter for about ten minutes before digging in. That’s all the reheating you’ll ever need.
Frequently Asked Questions About Pumpkin Pudding
I get asked a lot of questions about this pumpkin pudding, so let me tackle the most common ones. Whether you’re wondering about fresh pumpkin or why it turned out watery, I’ve got you covered. This baked pudding is forgiving, but a few details really matter.
Can I Use Fresh Pumpkin Instead of Canned?
You can, but you’ve gotta be careful. Fresh pumpkin puree needs to be really thick and well-drained, or your pudding will be runny. I recommend roasting the pumpkin, then pressing it through a strainer or cheesecloth to remove excess water. Canned puree is just so much more reliable for this pumpkin dessert – it’s consistent every time.
How Do I Know When Pumpkin Pudding Is Done?
The edges will be set and the center will jiggle slightly when you gently shake the pan – that’s your cue. If you want to be precise, use an instant-read thermometer; the center should read 170°F to 175°F. Remember, the pudding continues to set as it chills, so don’t overbake it. Trust that little jiggle!
Can I Make This Pumpkin Pudding Without Eggs?
You can try using an egg substitute like cornstarch or agar, but the texture will be softer and less custard-like. Honestly, for the best results with this baked pudding, I’d recommend following a tested vegan recipe that’s specifically designed for egg-free custards. It’s a different beast altogether.
Why Is My Pumpkin Pudding Watery?
Two main culprits: underbaking or thin pumpkin puree. Make sure you bake until the center is just set – that jiggle should be subtle, not sloshy. And if you’re using fresh puree, drain it really well. Also, chilling for at least 2 hours is non-negotiable for proper texture. Patience pays off here.
Nutritional Information for Pumpkin Pudding
Let’s talk numbers for a sec. These values are estimates, so take ’em with a grain of salt – or cinnamon, in this case. Per serving, you’re looking at about 200 calories, 6 grams of fat, 33 grams of carbs, and 6 grams of protein. It also sneaks in about 2 grams of fiber, which is nice for a dessert. Just keep in mind that specific brands and ingredient choices can shift things around. If you swap the milk for half-and-half or use a different sweetener, you’ll want to recalculate for your own batch. But for a creamy, satisfying treat, these numbers are pretty solid.
Your Turn to Make This Pumpkin Pudding
Alright, now it’s your turn to get in the kitchen and make this pumpkin pudding. I’d love to hear how it turns out for you—drop a comment below or leave a rating if you’re feeling generous. And hey, if you snap a photo and share it on social media, that helps other home cooks find this little gem too. Happy baking!
PrintPerfect Pumpkin Pudding: 1 Water Bath Secret

This pumpkin pudding is a creamy, spiced dessert. You make it with simple ingredients. It is perfect for fall.
- Prep Time: 15 minutes
- Cook Time: 45 minutes
- Total Time: 1 hour
- Yield: 6 servings 1x
- Category: Dessert
- Method: Baked
- Cuisine: American
- Diet: Vegetarian
Ingredients
- 1 can (15 oz) pumpkin puree
- 3 large eggs
- 1 cup whole milk
- 1/2 cup granulated sugar
- 1/4 cup brown sugar
- 1 teaspoon vanilla extract
- 1 teaspoon ground cinnamon
- 1/2 teaspoon ground ginger
- 1/4 teaspoon ground nutmeg
- 1/4 teaspoon salt
Instructions
- Preheat your oven to 350°F (175°C).
- In a large bowl, whisk together pumpkin puree and eggs.
- Add milk, both sugars, vanilla, cinnamon, ginger, nutmeg, and salt. Stir until smooth.
- Pour the mixture into a greased 8-inch baking dish.
- Place the dish in a larger pan. Pour hot water into the larger pan until it reaches halfway up the dish.
- Bake for 45 minutes, or until the center is set but still slightly jiggly.
- Remove from the water bath. Let cool on a wire rack.
- Refrigerate for at least 2 hours before serving.
Notes
- You can use canned pumpkin or homemade puree.
- For a richer pudding, use half-and-half instead of milk.
- Serve with whipped cream or a dusting of cinnamon.
Nutrition
- Serving Size: 1 serving (about 1/6 of recipe)
- Calories: 200
- Sugar: 24 g
- Sodium: 220 mg
- Fat: 6 g
- Saturated Fat: 2.5 g
- Unsaturated Fat: 3 g
- Trans Fat: 0 g
- Carbohydrates: 33 g
- Fiber: 2 g
- Protein: 6 g
- Cholesterol: 100 mg
